DIY MOTHER'S DAY POP-UP CARD
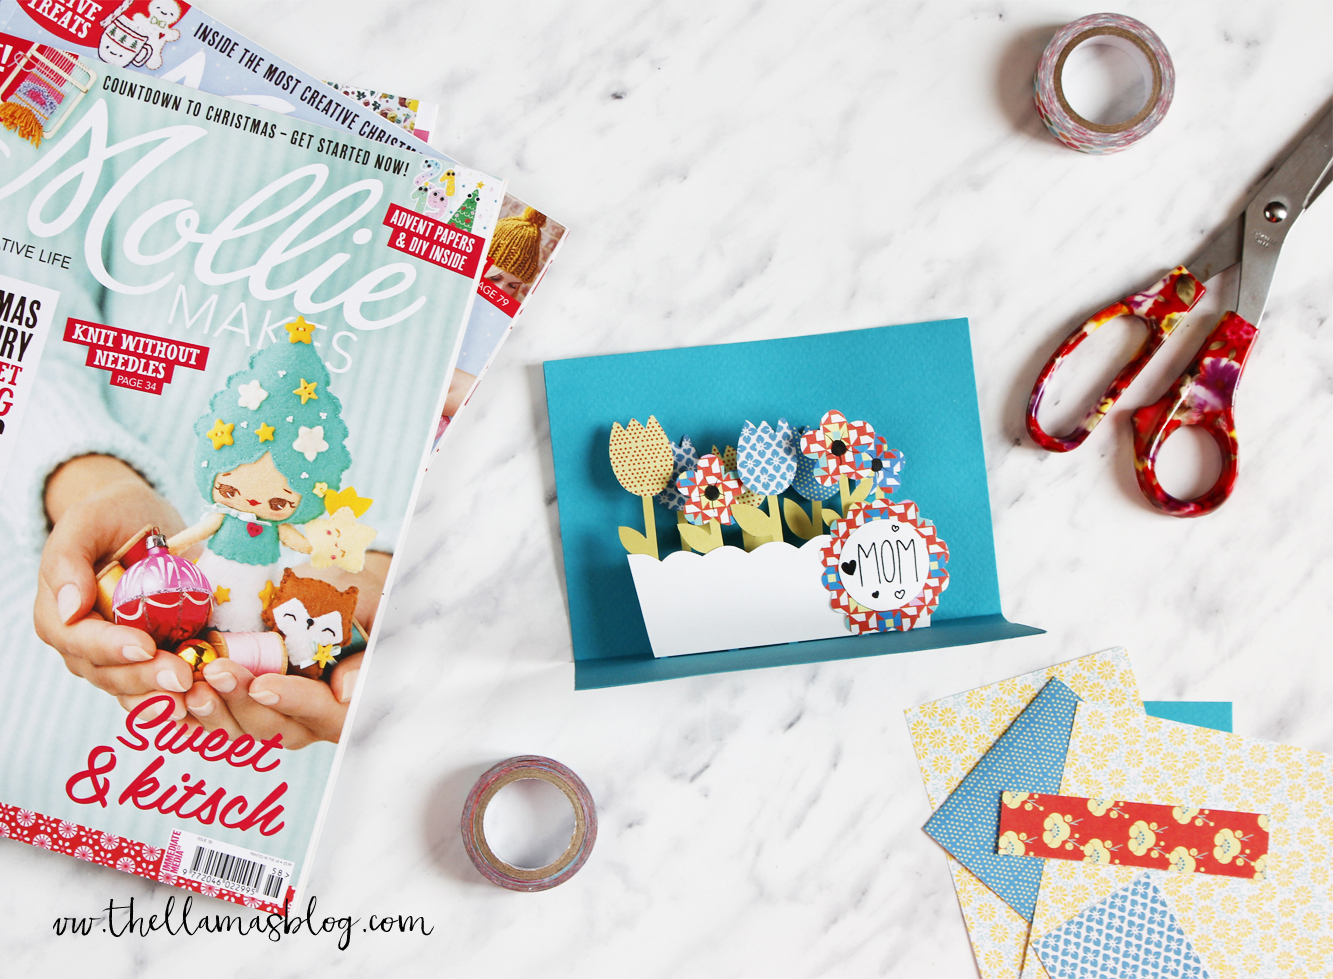
Don't worry, we haven't forgotten that this Sunday is Mother's Day! We have a nice DIY ready, quick and made entirely of paper... a colorful pop-up card! It's easy to make, and you can also customize it by cutting out different flower shapes, even taking inspiration from your mothers' favorite flowers. In our opinion, to say "I love you" there's nothing better than giving something personally handmade, without spending a fortune :) Your mothers will surely appreciate this little gift and the fact that you made it thinking of them. And now let's get started, there's not much time!
MATERIALS
- colored cardboard
- white cardboard
- origami paper
- green paper
- cutter
- scissors
- ruler
- glue
- marking pen
TUTORIAL

PREPARE THE BASE
Cut two colored cardboards of the size of 21x15cm. Fold in two on the long side to create the cards. Using a ruler and a cutter, incise one of the two cards perpendicularly to the fold. Starting at 3cm from the margin, incise 2mm wide strips, alternately 4cm and 2cm long, with a distance of 1cm between one strip and the other (1). Strips must be exactly half of the fold, to be more precise draw them with a pencil before carving the cardboard. In the end it will result 5 long strips and 4 short ones. Fold the strips inwards (2).
CUT THE PIECES
Draw and cut: a pot about 9.5cm long on the white cardboard; 8 flowers on the origami paper; 8 stems on green paper; a circle (3cm diameter) on the white card; a wavy circle (about 4.5cm diameter) on origami paper (3). With the marking pen write a message on the white circle and decorate the center of the flowers (4).
GLUE THE PIECES
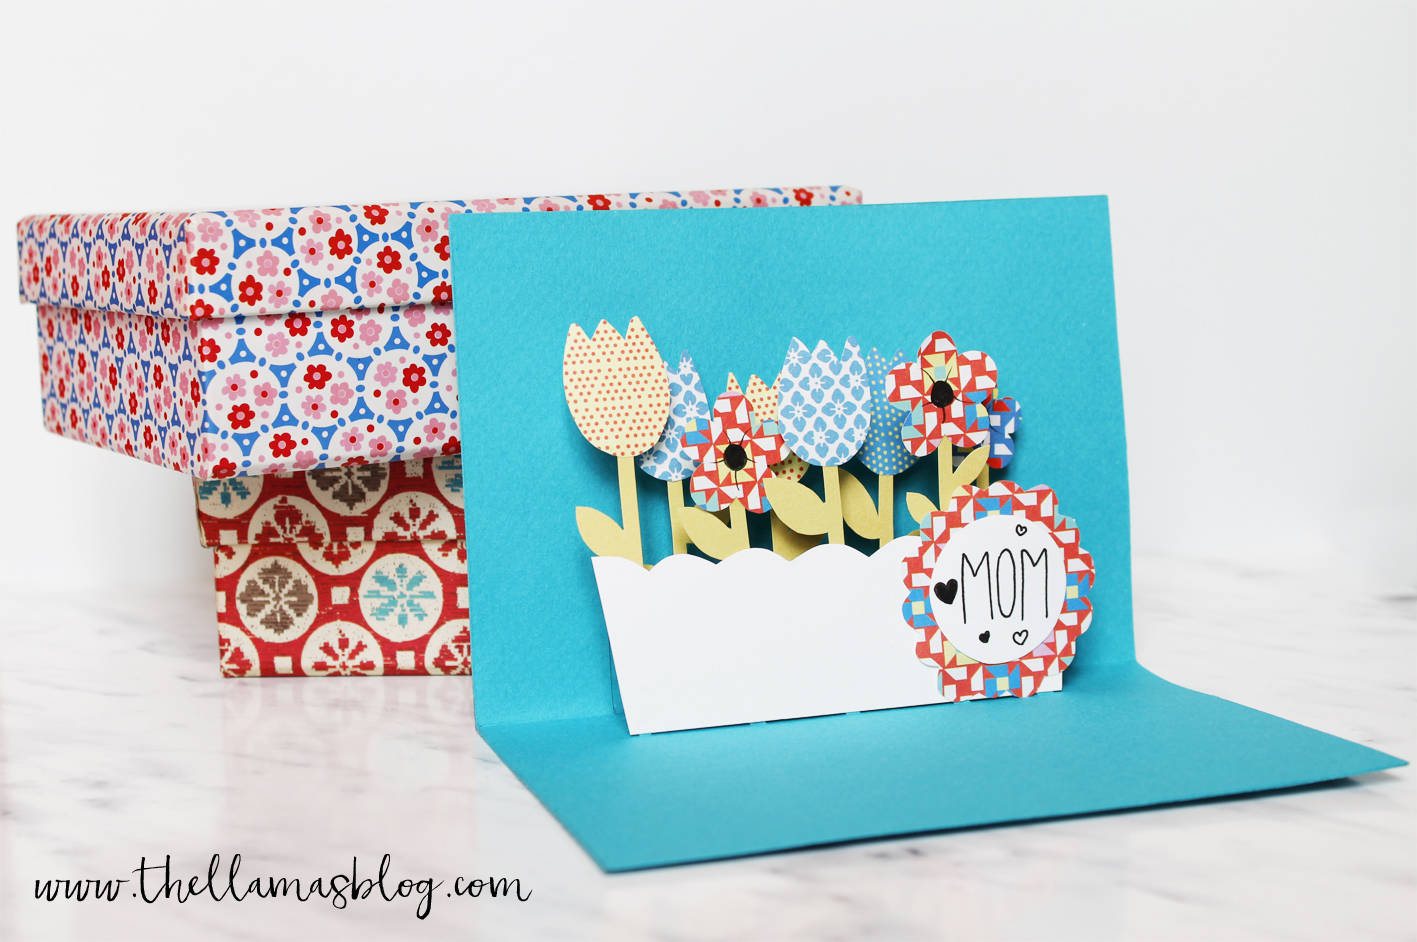
Glue the stems on the back of the flowers (5), then glue them on the strings at different heights, leaving the last strip to the right empty (6). Stick the pot on the base of the flowers, than glue over it the frame and the circle with the message, placing it on the right (7). Finally, overlap the two large cards and glue them together in order to hide the cuts (8). The pop-up card is ready to be delivered! (9)