DIY GOLDEN PHOTO HOLDERS

It's been two weeks since we announced that we had joined the CasaFacile Style blogger team, but we hadn't yet shared the project that allowed us to join the team! It wasn't easy to decide which project to submit for selection, there was a moment of crisis in which the ideas just didn't want to arrive XD But in the end we opted for these small photo/business card holders with golden details, simple and effective. We are satisfied with the result, because they are really simple to make and we managed to add our ironic and kawaii touch. Did you feel like making them? We hope so :)
For the full tutorial we refer you to the post on Casafacile ! Here we will share only the tutorial in English.
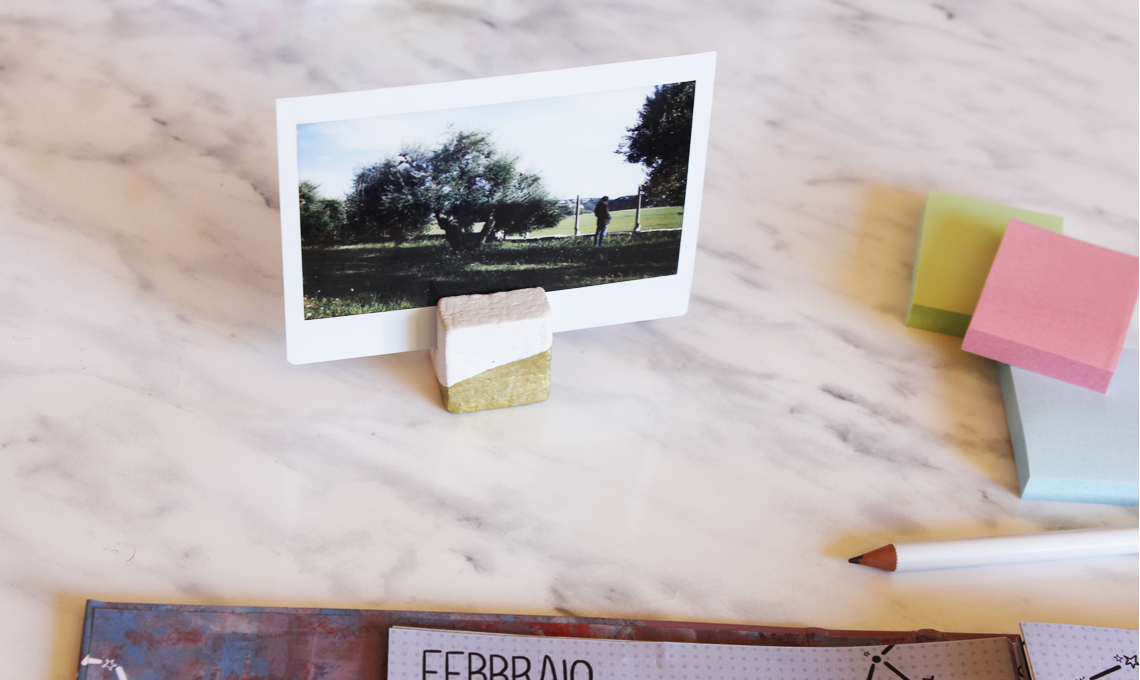
Are you looking for a simple but scenographic way to display your photos? If you love gold and simple shapes, this DIY is perfect for you! These small photo holders are perfect for adding a touch of light to your desk, and they couldn't be easier to make. All you need is air dry clay and a golden marker! They can also be used for illustrations and postcards, to keep letters and business cards in order, or as a placeholder. They certainly will not go unnoticed!
We made this tutorial for CasaFacile , a beautiful Italian magazine about Interior Design and furnishing, full of inspiration, and we are now part of their blogger team! Now let's move to the tutorial!
MATERIALS
- air dry clay
- a spatula or a knife
- gold permanent marker
- black permanent marker, thin tip
- paper scotch tape
TUTORIAL (STEP-BY-STEP PICTURES HERE)
STEP 1
Using the spatula or knife, cut some "slices" of clay, with a thickness of about 2.5 cm. Obtain from the various slices a square (3.5 x 3.5 cm approximately), a triangle (3.5 cm base length) and a rectangle (9 x 3 cm approximately). [wc_highlight color="red"](1)[/wc_highlight] .
STEP 2
Always using the spatula, cut a slot of about 1 mm thick on the side of the blocks, long about 2/3 of the depth. [wc_highlight color="red"](2)[/wc_highlight] . S mooth the clay with wet fingers. Leave it to dry for a few hours.
STEP 3
Decorate the blocks using the golden marker. Use the scotch paper to draw the lines as straight as possible. [wc_highlight color="red"](3)[/wc_highlight] . Draw the details with the black marker and let it dry. Finished!