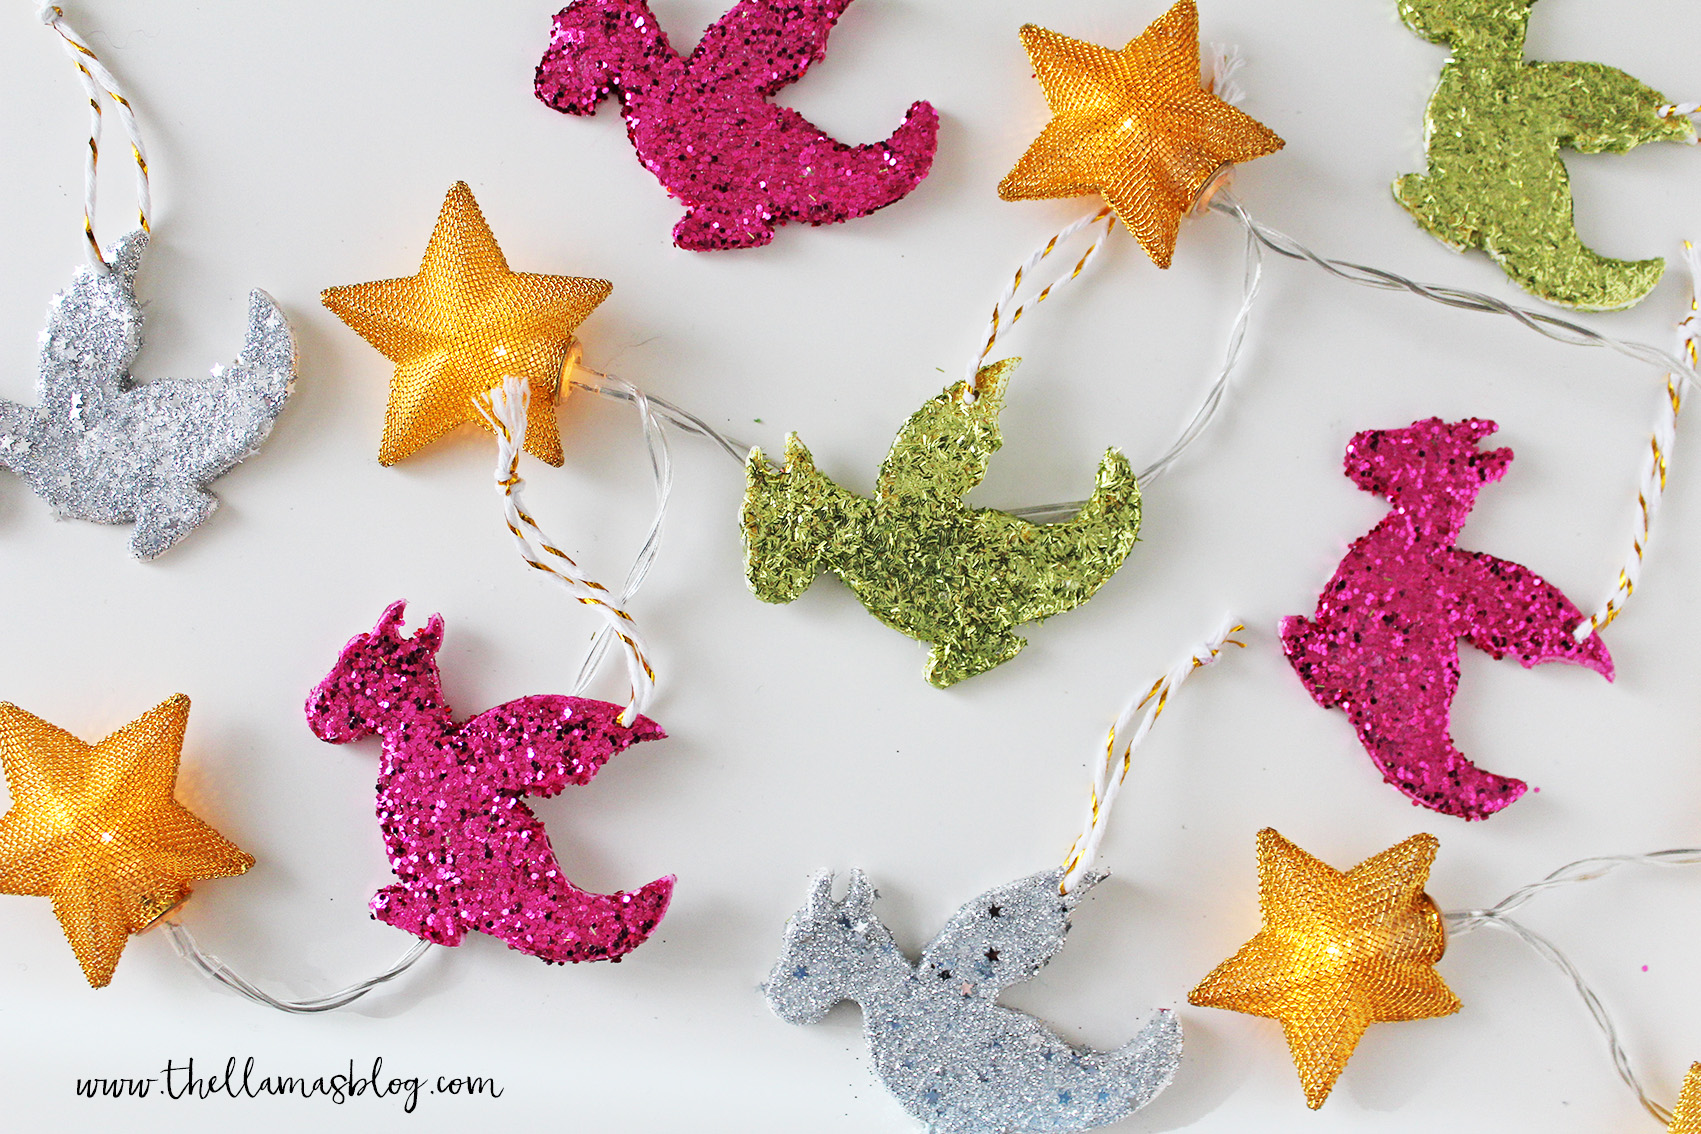
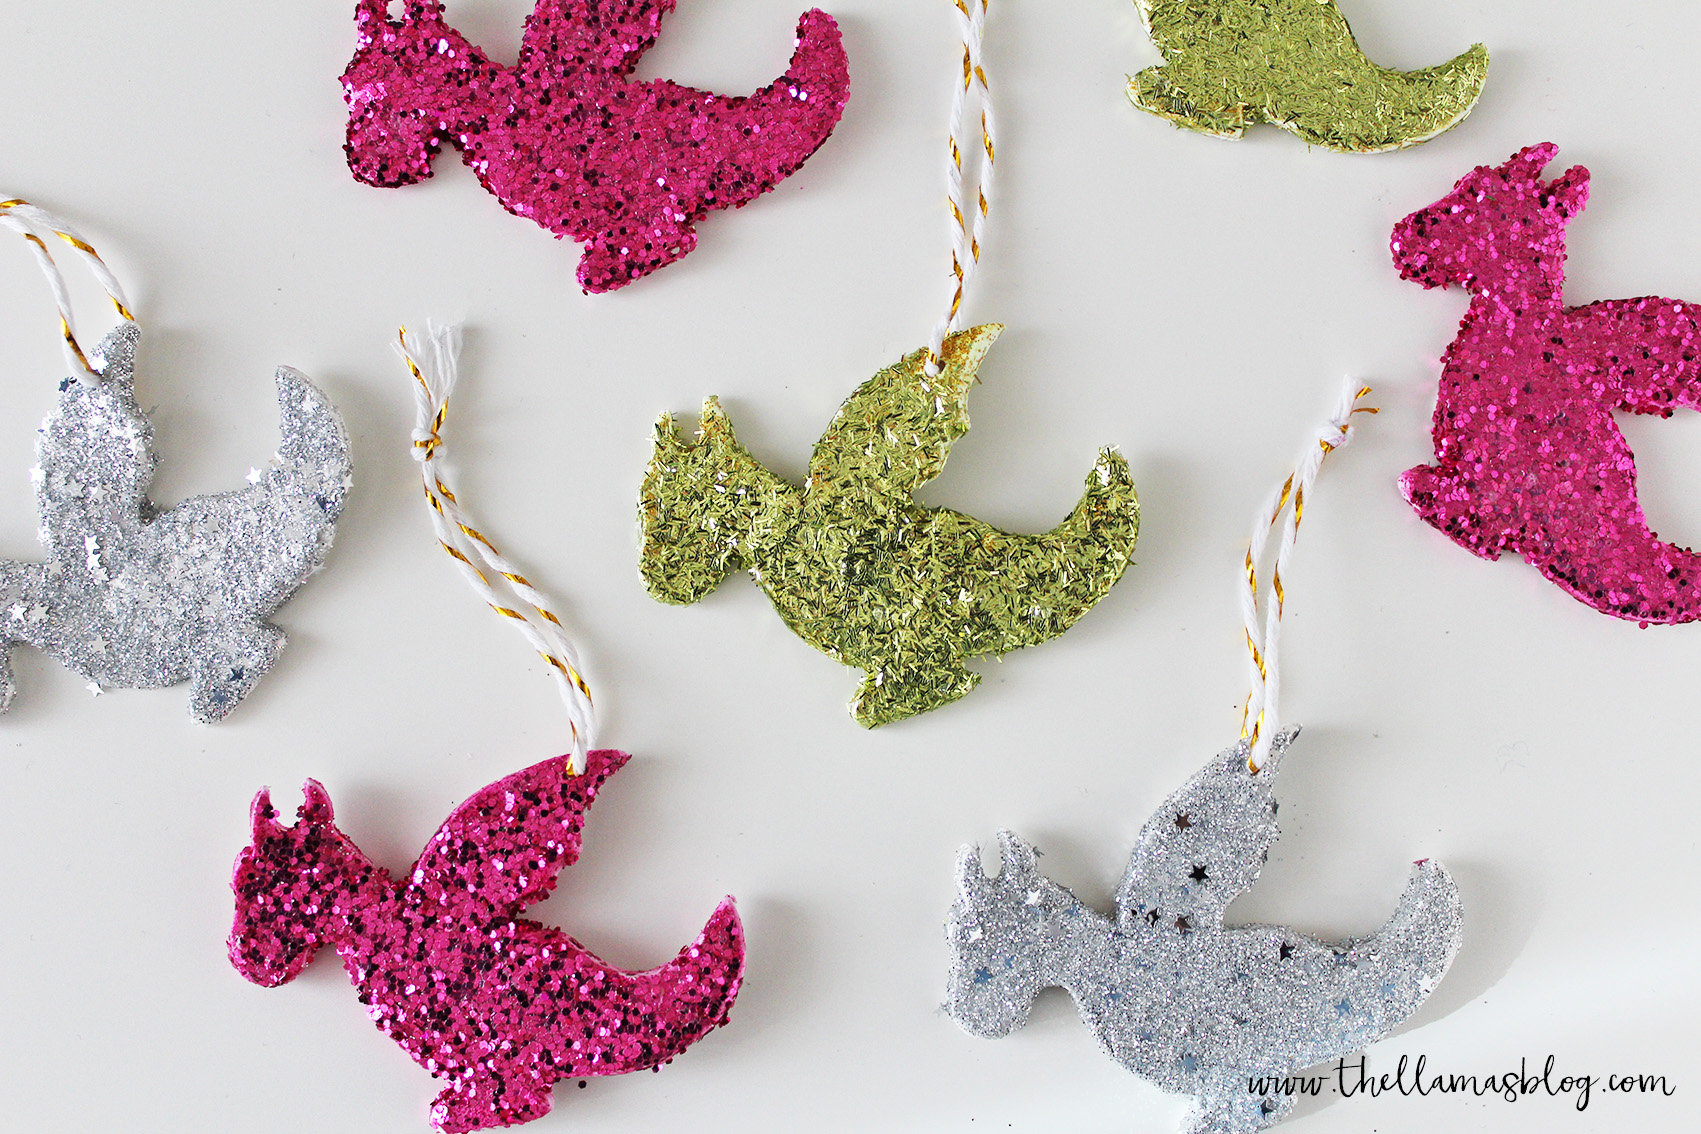
DIY SPARKLING DRAGONS CHRISTMAS DECORATIONS
Christmas, a time of chocolate and cinnamon cookies, of colorful gifts and pine needles, of flashing lights and... dragons. Yes, you read that right, dragons! Who among you has never felt the uncontrollable desire to decorate the Christmas tree with sparkling dragon-shaped decorations? No one?? Thank goodness we are here to help you discover what you still didn't imagine you could desire xD
Christmas, time for hot chocolate and cinnamon cookies, for colorful gifts and pine needles, flashing lights and... dragons. Yes, you got it right, dragons! Which of you has never felt the uncontrollable desire to decorate the Christmas tree with shimmering dragon-shaped decorations? Anyone?? Luckily we are here to make you discover what you still didn't imagine you could desire xD

All you need is some self-hardening modeling clay, some glue and a little glitter to create these sparkling creatures! We used a dragon-shaped cookie cutter but you can obviously use the mold you like the most if the fantasy style is not your thing xD even a simple star or a circle becomes magical with a touch of pink glitter! It's a two-step tutorial, since the self-hardening clay takes 12 to 24 hours to dry completely, so remember to cut the dragons in advance :D FOR THE TUTORIAL IN ITALIAN CLICK ON THE "ITALIAN" LABEL UNDER THE PHOTO.
All you need is air dry clay, glue and a bit of glitter to create these sparkling creatures! We have used a dragon-shaped cookie mold, but of course you can use the cookie mold you prefer, if Fantasy is not your favorite style xD even a simple star or a circle becomes magical with a touch of pink glitter! It's a two-step tutorial, as the air dry clay takes 12 to 24 hours to dry completely, so remember to cut out the dragons in advance :D
[wc_tabgroup layout="box"]
[wc_tab title="ENGLISH"]
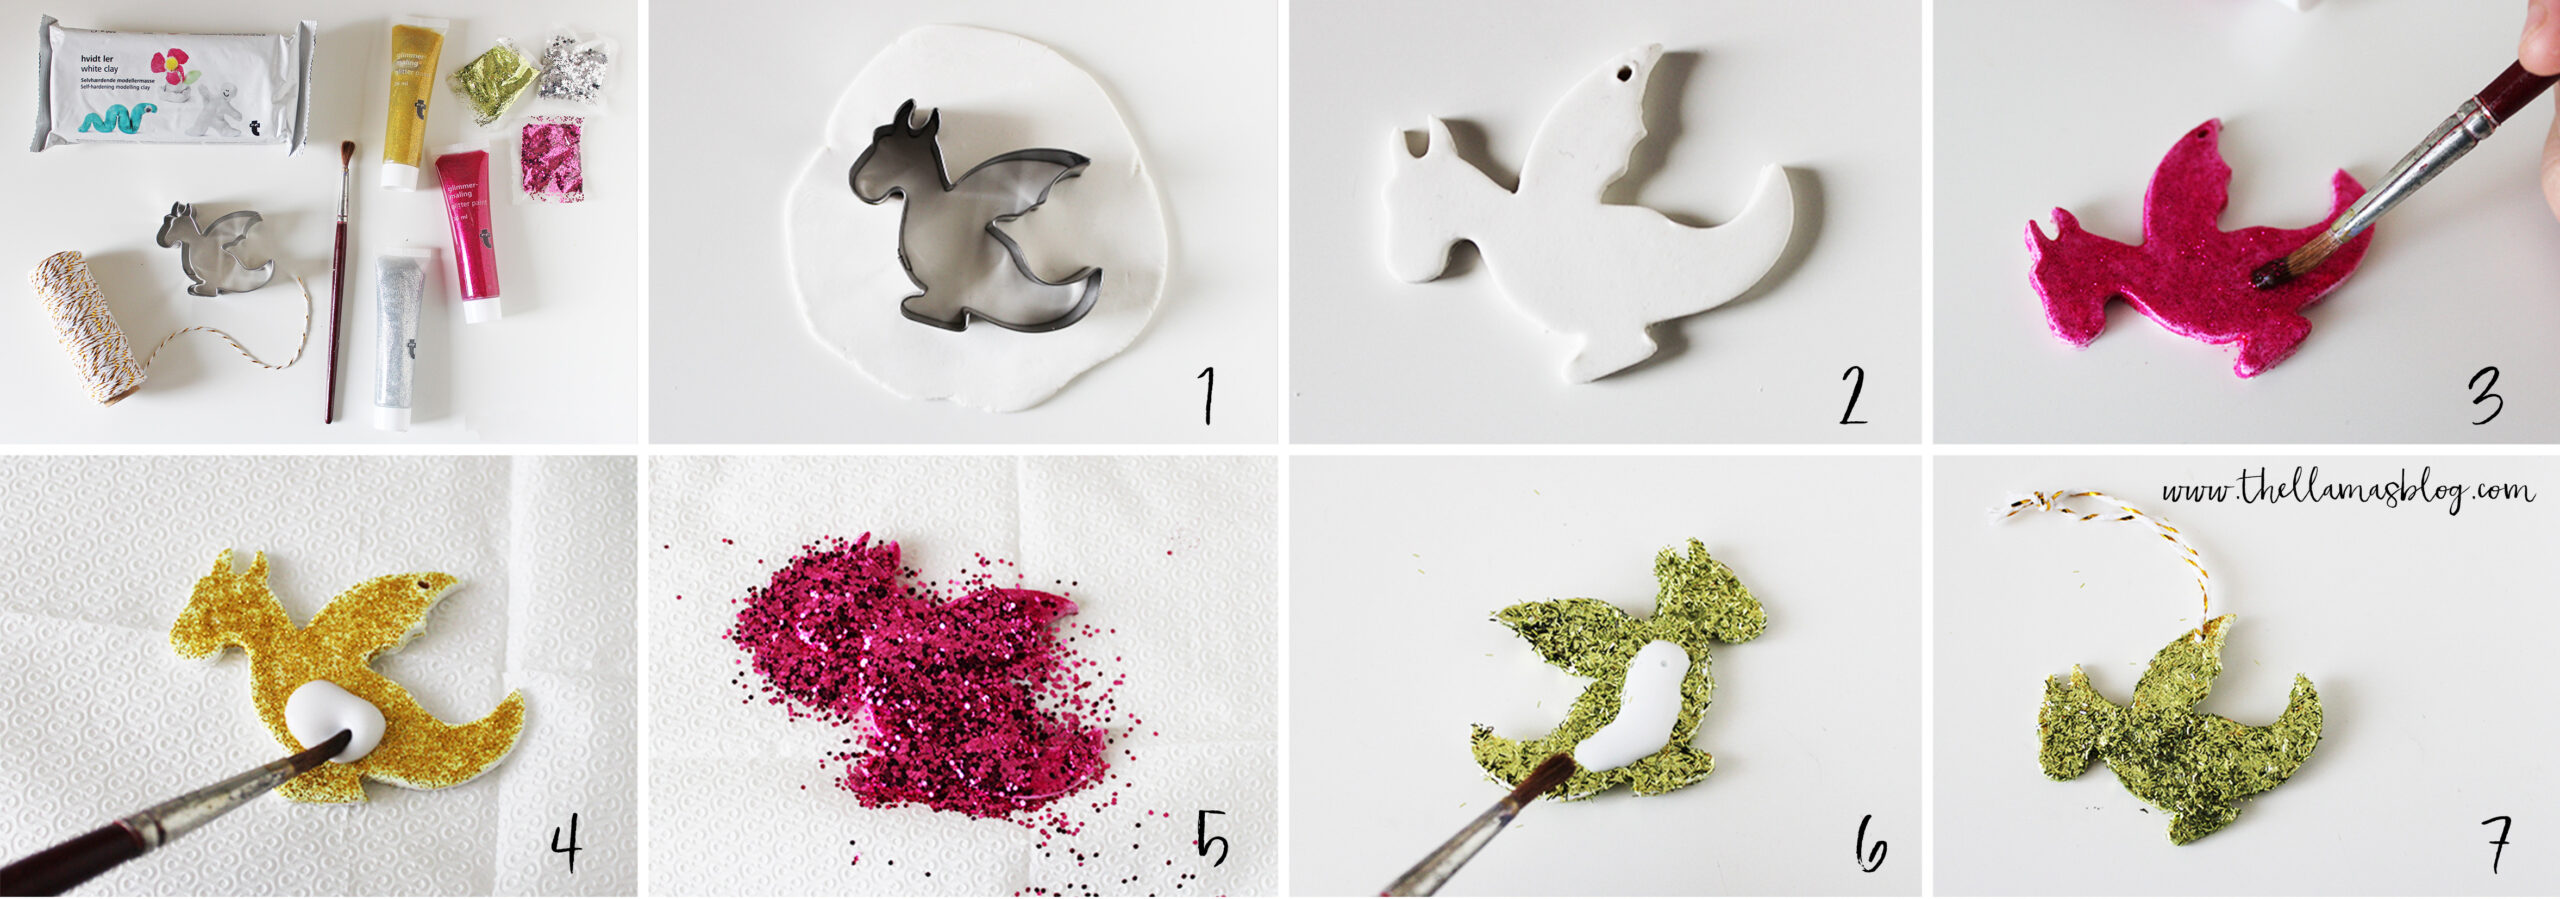
MATERIALS
- air dry clay
- dragon shaped cookie mold
- glitter powder
- glitter paint (optional)
- glue
- brush
- string
TUTORIAL
CUT OUT THE DRAGONS
Roll out the air dry clay with the help of a rolling pin or another cylindrical object. Once it's about 5mm thick, cut out the shape with the biscuit mold [wc_highlight color="red"](1)[/wc_highlight] . Repeat the process until you have cut out all the dragons you need.
MAKE A HOLE FOR THE STRING
Make a hole in the upper part of the wings to be able to pass the ribbon later [wc_highlight color="red"](2)[/wc_highlight] . Let the dragon dry for 12 or 24 hours, depending on the type of air dry clay used.
USE THE GLITTER PAINT (OPTIONAL)
Once dry, paint the dragon with a glitter paint of the same color as the glitter that you will apply later. This an optional step, in order to create a colored base under the glitter that hides the white of the hardener paste. Paint two or three hands if the paint has a semi-transparent effect, on both sides of the dragon. Let it dry [wc_highlight color="red"](3)[/wc_highlight] .
SPREAD THE GLUE
Spread the glue on the upper surface of the dragon and on the sides with a brush [wc_highlight color="red"](4)[/wc_highlight] .
POUR THE GLITTER POWDER
On a handkerchief, pour the glitter powder on the surface (the one with the glue) of the dragons [wc_highlight color="red"](5)[/wc_highlight] . Once dry, spread the glue on the back (repeating then the previous step) and also sprinkle the back of glitters.
FIX THE GLITTER POWDER
Once dry, pass another generous coat of glue on the dragon [wc_highlight color="red"](6)[/wc_highlight] . Drying it will become transparent and will prevent the glitters from falling.
INSERT THE STRING
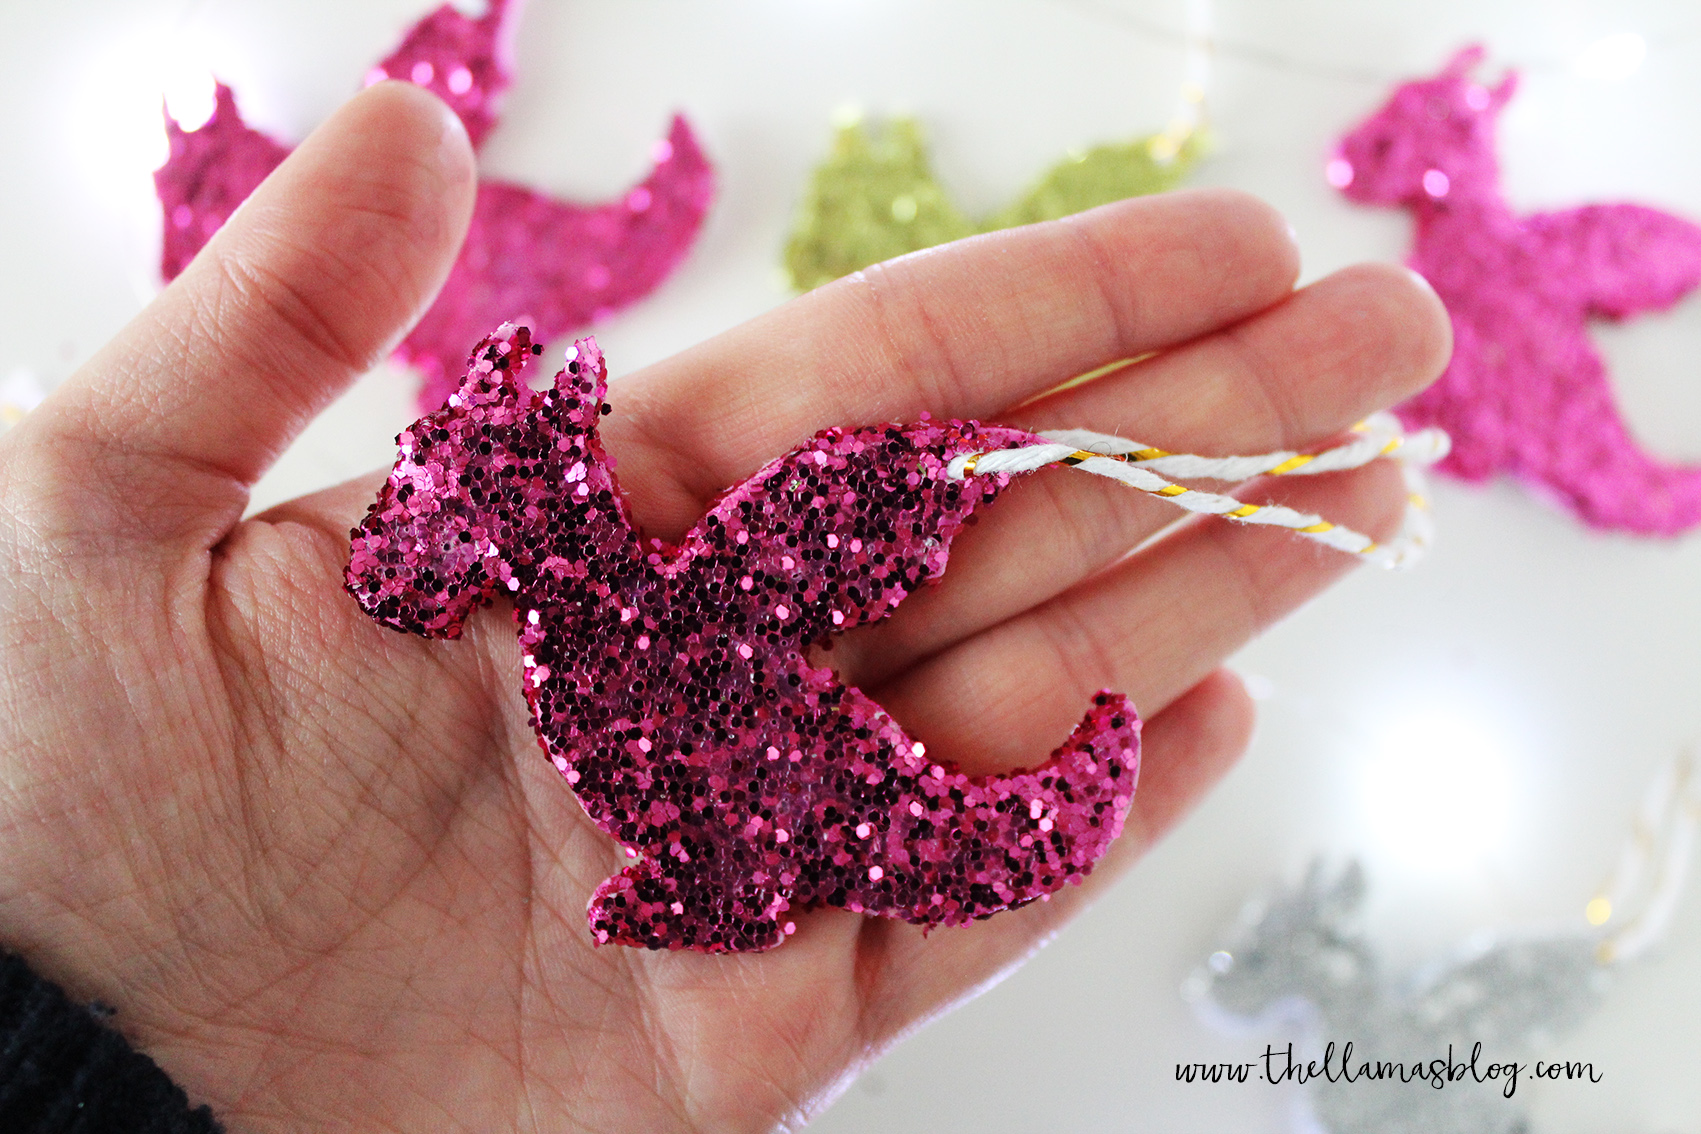
Insert the string in the hole, help with a wide-eye needle if you have any difficulty [wc_highlight color="red"](7)[/wc_highlight] . Knot the ribbon and your sparkling decoration is ready!
[/wc_tab]
[wc_tab title="ENGLISH"]
MATERIALS
- self-hardening modelling clay (DAS)
- dragon cookie cutter
- glitter
- glitter paint (optional)
- glue (like Vinavil)
- brush
- string or ribbon
PROCEDURE
CUT THE DRAGONS
Roll out the self-hardening paste using a rolling pin or another cylindrical object. Once it is about 5mm thick, cut out the shape with the cookie cutter [wc_highlight color="red"](1)[/wc_highlight] . Repeat the process until you have cut out all the dragons you need.
MAKE A HOLE FOR THE TAPE
Make a hole in the upper part of the wings to pass the ribbon through later [wc_highlight color="red"](2)[/wc_highlight] . Let the dragons dry for 12 or 24 hours, depending on the type of hardener used.
PAINT WITH GLITTER PAINT (OPTIONAL)
Once dry, paint the dragons with a glitter paint of the same color as the glitter you will apply later. This optional step is to ensure that there is a colored base under the glitter, so as to hide the white of the hardener. Paint two or three coats if the paint has a semi-transparent effect, on both sides of the dragons. Let dry [wc_highlight color="red"](3)[/wc_highlight] .
APPLY THE GLUE
Brush the glue onto the top surface of the dragons and the sides [wc_highlight color="red"](4)[/wc_highlight].
APPLY GLITTER
Pour the glitter on a handkerchief and bread the dragons as if they were cutlets [wc_highlight color="red"](5)[/wc_highlight] . Once dry, spread the glue on the back (repeating the previous procedure) and sprinkle the back with glitter as well.
FIX THE GLITTER
Once dry, apply another generous coat of glue to the dragons [wc_highlight color="red"](6)[/wc_highlight] . As it dries it will become transparent and will prevent the glitter from falling off.
INSERT THE TAPE
Insert the ribbon to hang the dragons into the hole, help yourself with a wide-eyed needle if you have difficulty [wc_highlight color="red"](7)[/wc_highlight] . Tie a knot to secure the ribbon and your sparkling decoration is ready!
[/wc_tab]
[/wc_tabgroup]
It's a very simple tutorial, also suitable for children, you can have fun with them creating different shapes and personalising your tree with handmade decorations :D and, as always, don't forget to share your creations on facebook and instagram, using the hashtag #makethingsnotdramas and mentioning @thellamas.lab !
It's a very simple tutorial, also suitable for children, you can have fun with them creating different shapes and customizing your tree with handmade decorations :D and do not forget to share your creations on facebook and instagram, using the hashtag #makethingsnotdramas and mention @thellamas.lab !