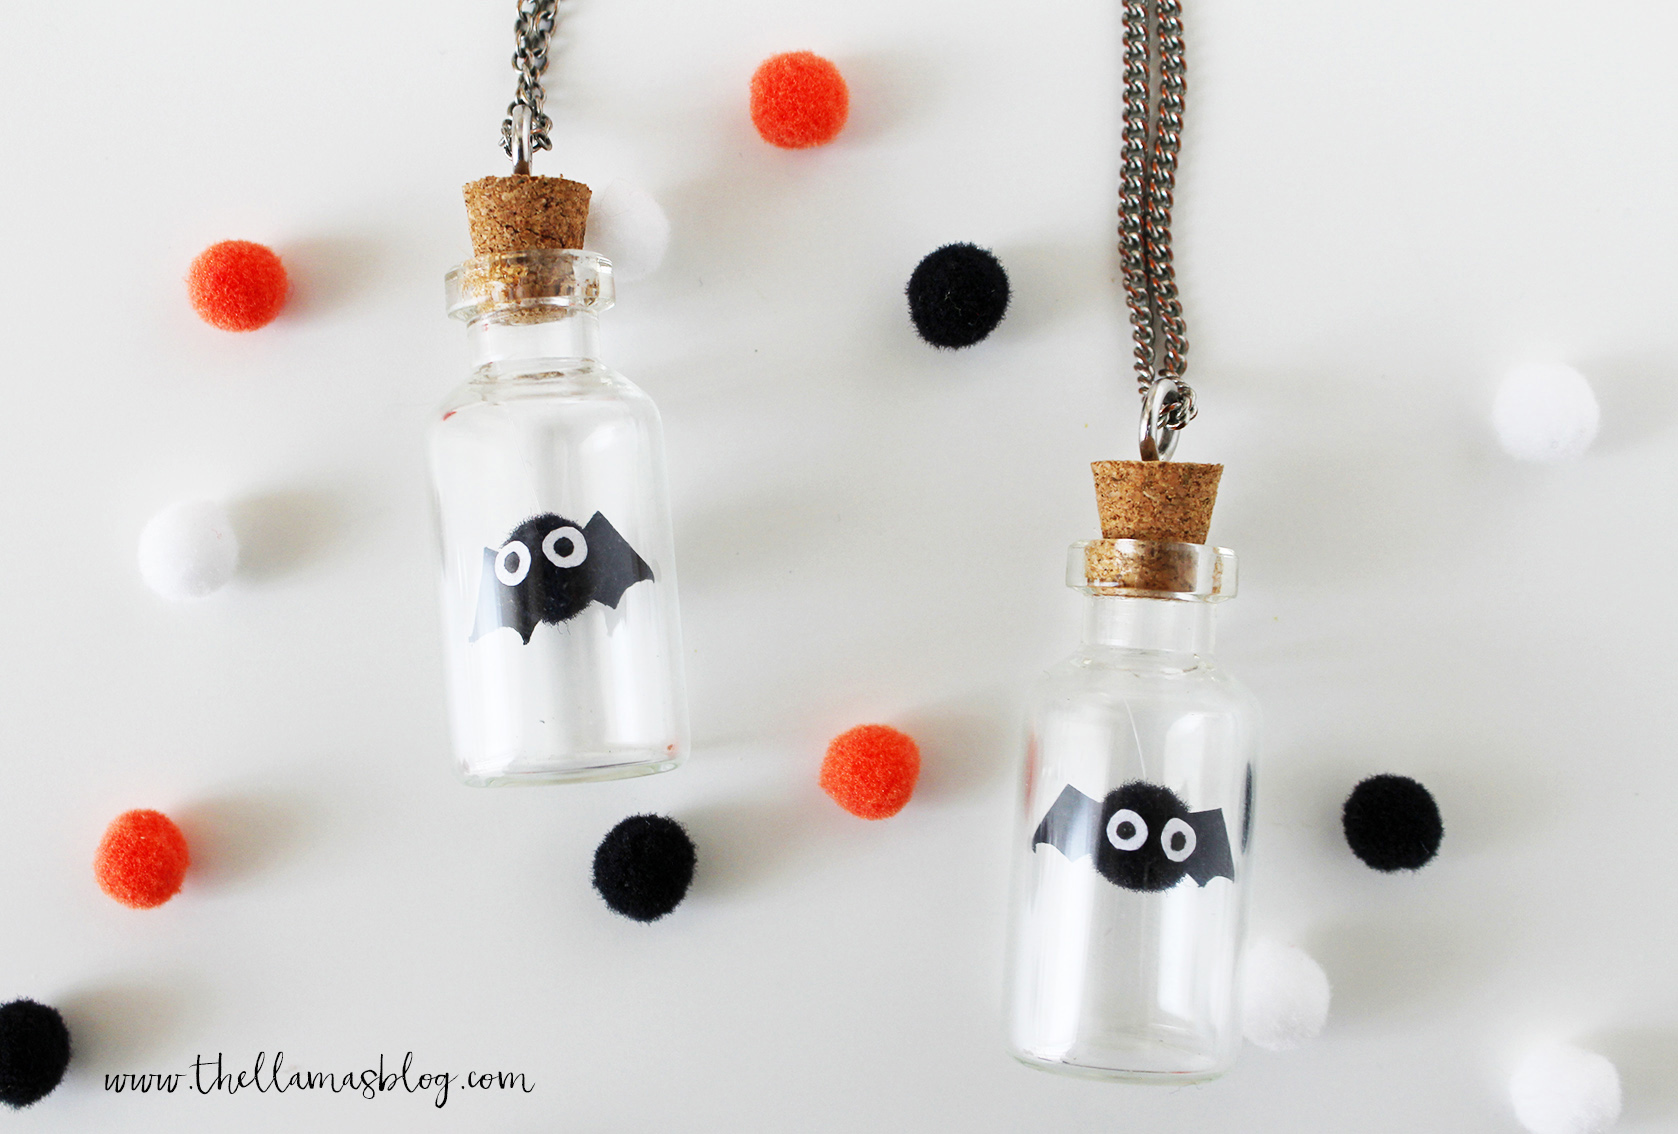
DIY HALLOWEEN BUDDY NECKLACE ♥

Welcome back to our usual annual Halloween tutorial! If you've been following us for a while, you'll have noticed that it's an unmissable event for us, since Halloween is one of the holidays that unleashes our imagination the most ? and this time (small spoiler!!) the event doubles! But you'll find out in a few days xD This year we're offering you a tutorial of Lilliputian dimensions, a necklace with a cute bat in a bottle! If you've decided to go classic and dress up as witches (or wizards!), you'll need a mascot :D
Welcome back to the usual annual Halloween tutorial! If you have been following us for a while you will have noticed that it is an unmissable event for us, because Halloween is one of the holidays that most unleashes our imagination ? and this time (small spoiler!) the appointment doubles! But you'll find out in a few days xD This year we offer you a tutorial with Lilliputian dimensions, a necklace with a tender bat in a bottle! If you have decided to go on classic and dress up as witches (or wizard!), you will need a mascot :D

Isn't it too cute? This little bat can add a touch of originality to a too classic costume :) but if, like us, you love dark with a touch of kawaii, you can also wear it all year round!
Isn't it too cute? This little buddy can give a touch of originality to a too classic costume :) but if, like us, you are lovers of the dark with a touch of kawaii, you can also wear it throughout the year!

The smaller the bottle pendant (we used the Flying Tiger ones), the more patience and attention it takes to make it, but the result is so cute that it makes you forget the effort :D If you have any difficulty, given the mini size of the pieces, you can help yourself with tweezers or you can think about making a maxi-sized mascot bat in a normal bottle, to use as a decoration! FOR THE TUTORIAL IN ITALIAN CLICK ON THE "ITALIAN" LABEL UNDER THE PHOTO.
The more the bottle pendant is small (we used the ones by Flying Tiger), the more patience and attention it takes to make it, but the result is so nice that it makes you forget the effort :D If it's too hard to make, due to the mini size of the pieces, you can help yourself with tweezers or you can think of making a maxi bat in a normal bottle, to be used as decoration! Now let's move to the tutorial!
[wc_tabgroup layout="box"]
[wc_tab title="ENGLISH"]
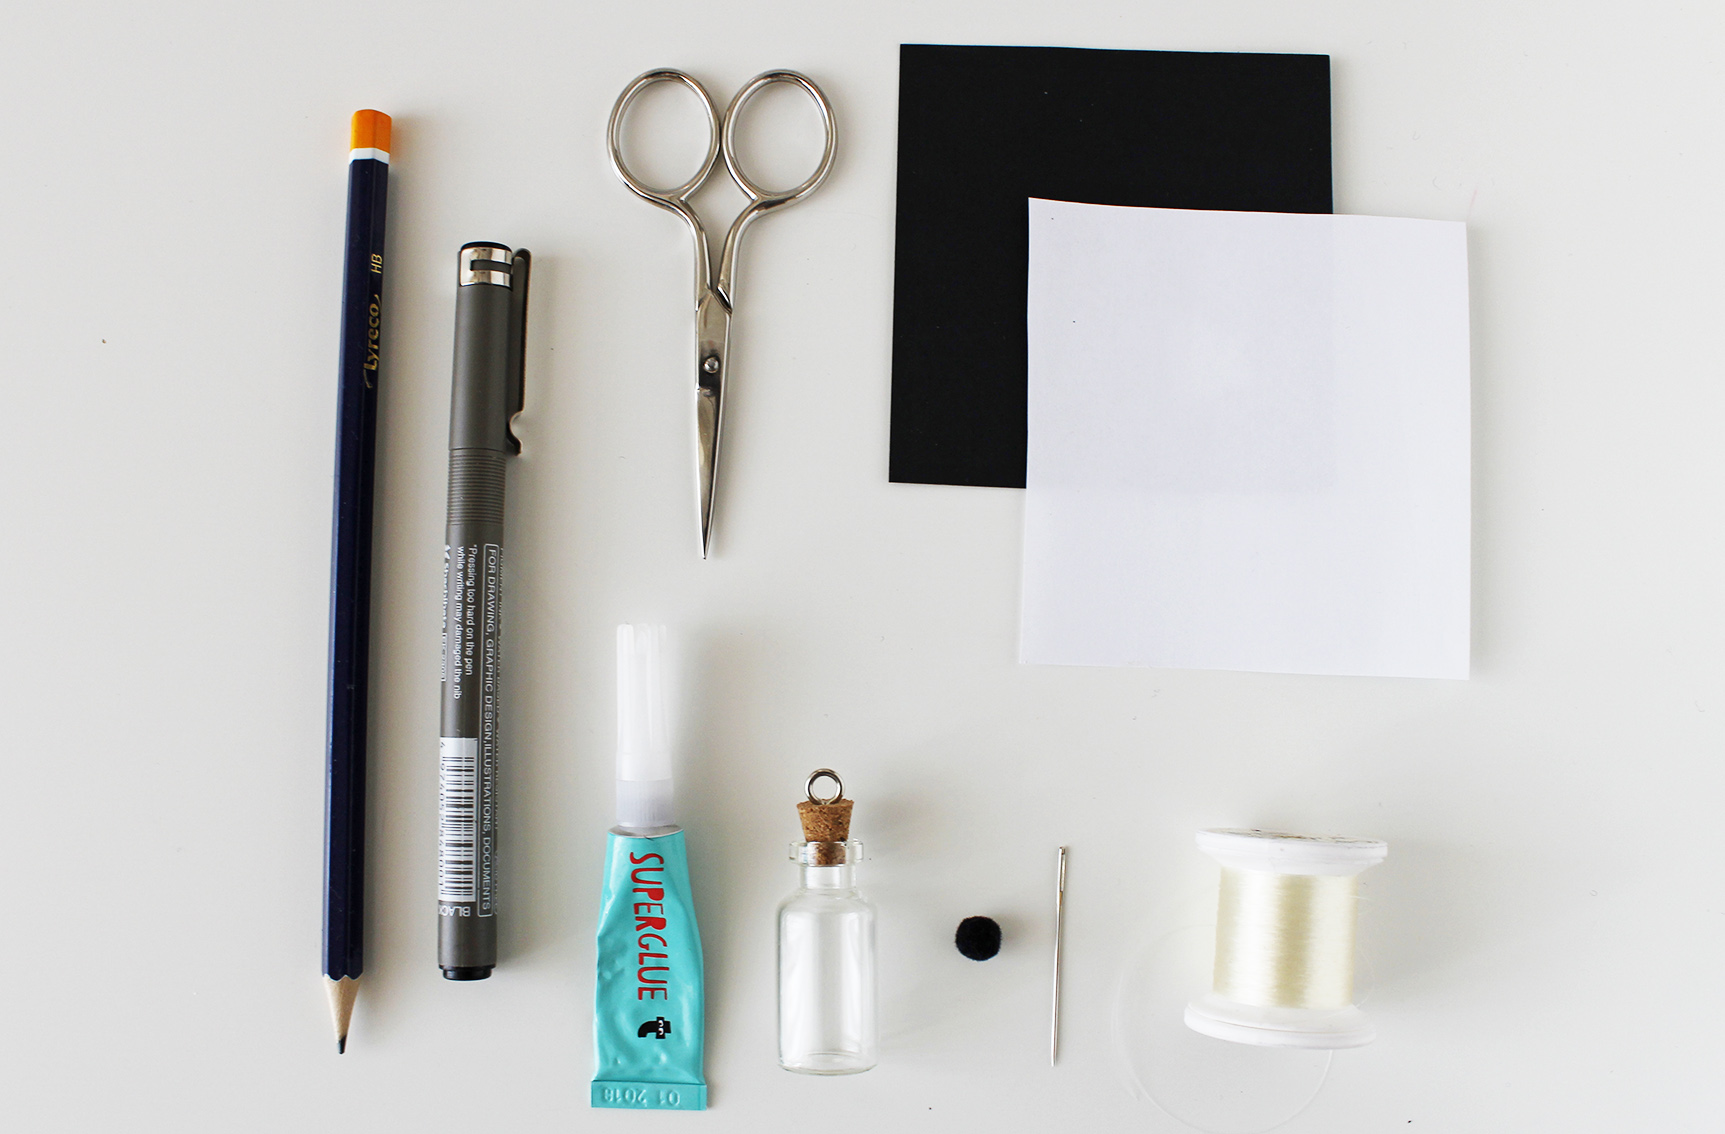
MATERIALS
- white paper sheet
- black cardboard
- bottle pendant
- a little black pom pom
- small scissors
- transparent thread
- needle
- glue
- black pen or marking pen
- pencil
TUTORIAL
MAKE THE WINGS
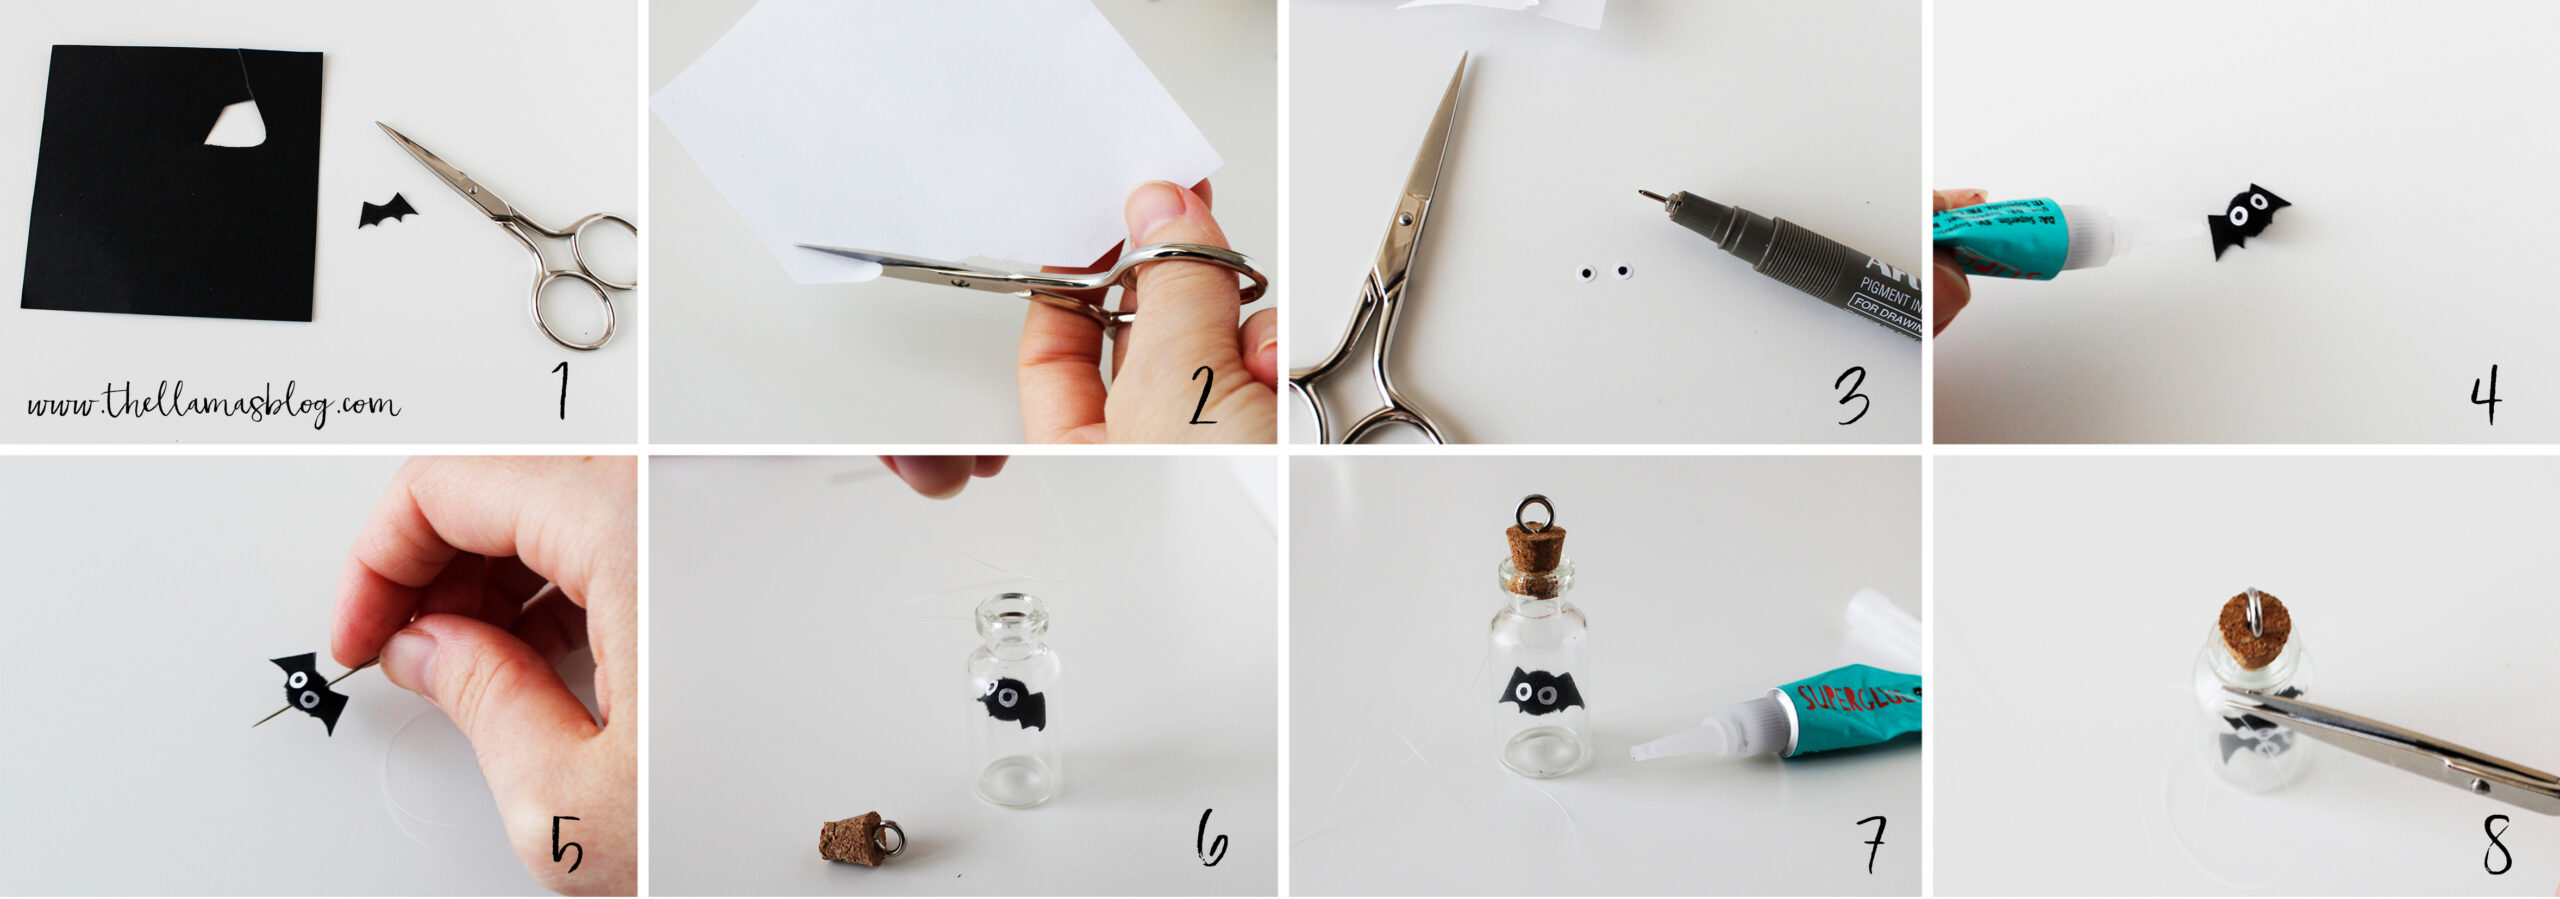
Draw the wings of the bat with a normal pencil on the black sheet, make sure that the width is slightly less than the diameter of the bottle and that the height is not too much larger than the opening. Cut it with scissors and erase the pencil marks that are still visible [wc_highlight color="red"](1)[/wc_highlight] .
CUT THE EYES
With a bit of patience, cut with the small scissors two tiny circles from the sheet of white paper, the sizes as similar as possible to each other. Help yourself by rotating the sheet while you cut it out [wc_highlight color="red"](2)[/wc_highlight] .
DRAW THE PUPILS
Draw two small black circles with the marking pen or the black pen in the center of the paper circles to make the pupils [wc_highlight color="red"](3)[/wc_highlight] .
PASTE THE PIECES
With a drop of glue, attach the mini pom pom to the wings, then attach the eyes to the front [wc_highlight color="red"](4)[/wc_highlight] .
INSERT THE THREAD
With a needle, insert a transparent thread vertically through the center of the bat. Fix it on the bottom with 3 knots and cut the thread that protrudes in excess down, over the knot [wc_highlight color="red"](5)[/wc_highlight] . Do not cut the upper thread, you will need to fix the bat to the bottle.
INSERT THE BAT INTO THE BOTTLE
Carefully insert the bat into the bottle [wc_highlight color="red"](6)[/wc_highlight] . Once you have inserted it you can fix any creases on the wings with a thin tool. If once inserted, you notice that the wings are too wide in relation to the diameter of the bottle, pull the bat out gently with tweezers and shorten the edges. Then insert it again.
FIX THE BOTTLE CAP
Once placed the bat in the position that you like most, close the bottle with the cap adding a few drops of glue to fix it. Make sure that the glue ends even where the thread passes, in order to fix the bat too [wc_highlight color="red"](7)[/wc_highlight] .
CUT THE THREAD
Cut the excess transparent thread that comes out of the cap [wc_highlight color="red"](8)[/wc_highlight] . Add a chain and your pendant is ready to be worn!
[/wc_tab]
[wc_tab title="ENGLISH"]
MATERIALS
- blank sheet of paper
- black cardboard
- bottle pendant
- mini black pom pom
- scissors
- transparent thread
- needle
- liquid glue
- nib or black pen
- pencil
PROCEDURE
MAKE THE WINGS
Draw the bat's wings with a normal pencil on the black sheet, making sure that the width is slightly less than the diameter of the bottle and that the height is not too much greater than the opening. Cut them out with the scissors and erase the remaining visible pencil marks [wc_highlight color="red"](1)[/wc_highlight] .
CUT THE EYES
With a little patience, cut out two small circles from the white sheet of paper with scissors, as similar in size as possible. Help yourself by rotating the sheet while you cut out [wc_highlight color="red"](2)[/wc_highlight] .
DRAW THE PUPILS
Draw two black circles with the black nib or pen in the center of the paper circles to make the pupils [wc_highlight color="red"](3)[/wc_highlight] .
GLUE THE PIECES
Using a drop of glue, attach the mini pom pom to the wings, then attach the eyes to the front [wc_highlight color="red"](4)[/wc_highlight].
INSERT THE WIRE
Using a needle, pass a transparent thread vertically through the center of the bat. Secure it at the bottom with 3 knots and cut the excess thread that sticks out at the bottom, beyond the knot [wc_highlight color="red"](5)[/wc_highlight] . Do not cut the upper thread, you will need it to secure the bat.
INSERT THE BAT
Gently insert the bat into the bottle. Once inserted, smooth out any creases in the wings using a thin tool [wc_highlight color="red"](6)[/wc_highlight] . If once inserted you notice that the wings are too large for the diameter of the bottle, gently pull the bat out with tweezers and shorten the edges. Then insert it again.
FIX THE CAP
Once you have positioned the bat in the position you like, close the bottle with the cap, adding a few drops of glue to secure it. Make sure that the glue also ends up where the thread passes, so as to block the bat [wc_highlight color="red"](7)[/wc_highlight] .
CUT THE WIRE
Cut off the excess clear thread sticking out of the cap [wc_highlight color="red"](8)[/wc_highlight] . Add a chain and your pendant is ready to wear!
[/wc_tab]
[/wc_tabgroup]
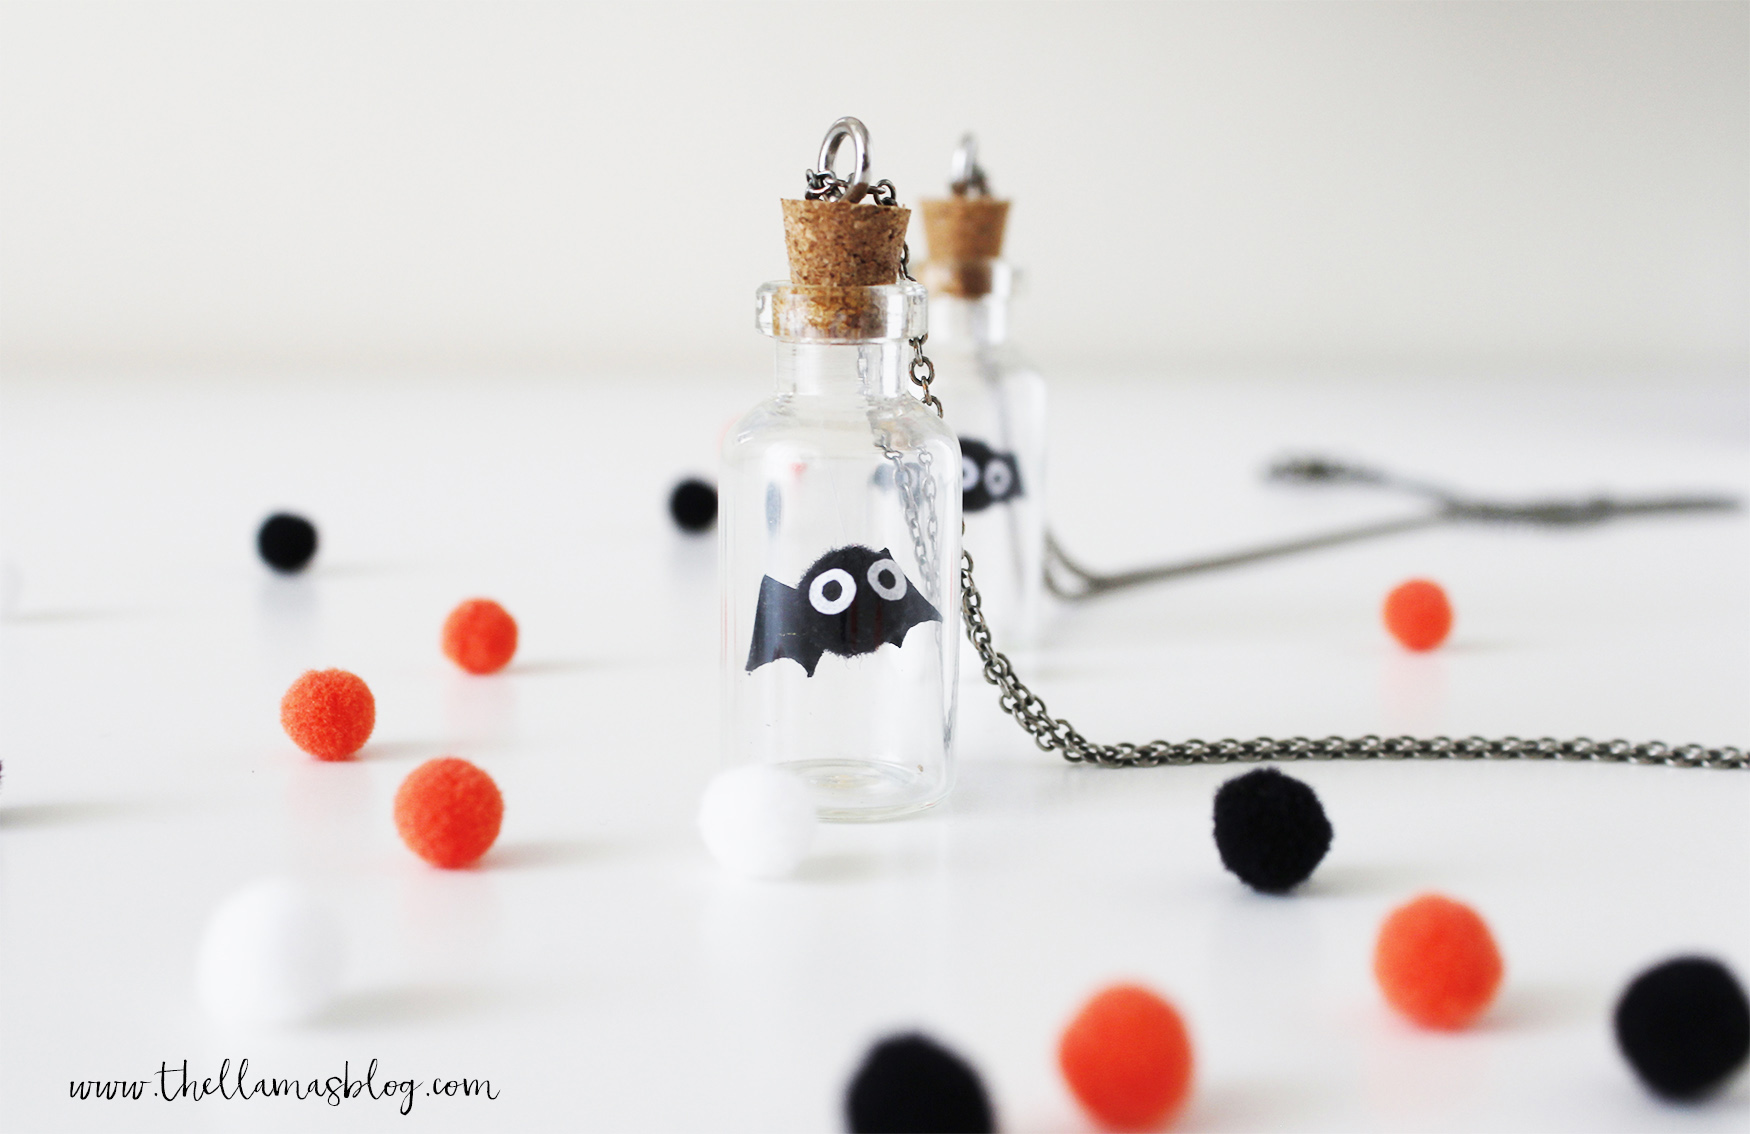
Now that your necklace is ready, wear it and spread some kawaii in this dark party, in true The Llamas style xD and don't forget to share your creations using the hashtag #makethingsnotdramas and mentioning @thellamas.lab ! ? ?
And now that your necklace is ready, wear it and go to spread a bit of kawaii in this dark festivity, in pure The Llamas style xD and do not forget to share your creations using the hashtag #makethingsnotdramas and mention @thellamas.lab ! ? ?