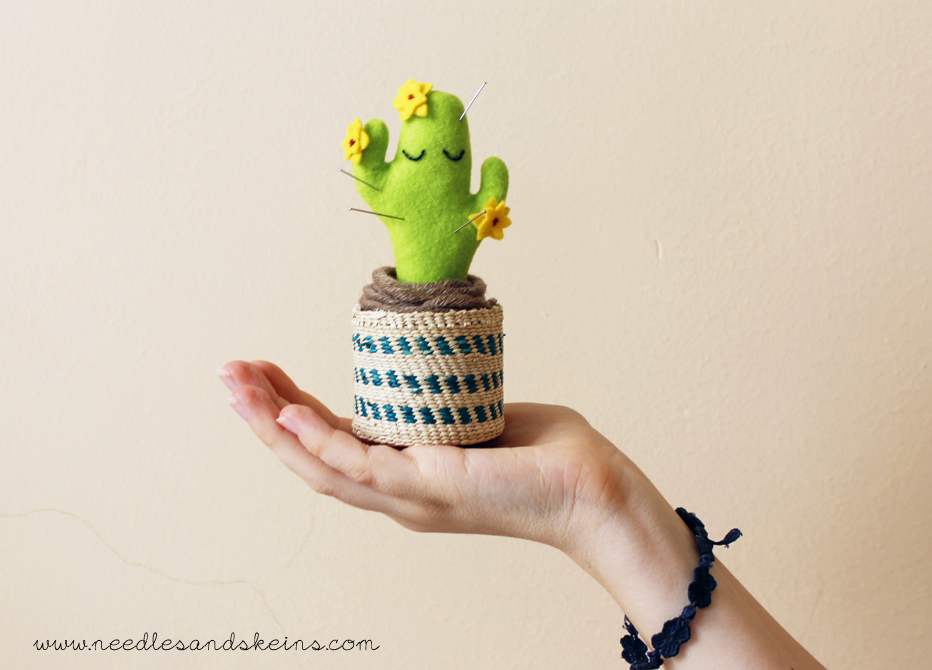
DIY FELT CACTUS PINCUSHION! // TUTORIAL + DOWNLOAD

I admit, when I work on a new project confusion reigns supreme...and I regularly find myself scanning the floor, looking for lost needles and pins! Raise your hand if you've never found yourself in this situation: oh well, I don't see any hands XD

I admit, when I work on a new project chaos takes over...and I find myself regularly scanning the floor, looking for lost pins and needles! Raise your hand if you have never been in this situation: oh well, I don't see any hand XD

felt cactus pincushion preview

But don't worry, this quick and easy project will help you never have a pin out of place again...let's get started!

Don't worry, this simple and fast project will help you never miss any pins...let's start!

cactus pincushion

MATERIALS

  • green and yellow felt
  • a jar or a basket
  • pattern (see below)
  • sewing machine
  • brown wool
  • white and red sewing thread
  • black embroidery thread
  • sewing needle
  • embroidery needle
  • padding
  • scissors
  • tailor's chalk

NOTES ON THE PATTERN

  • Download the pattern in PDF here.
  • The cactus pattern includes seam allowances (5mm)

PROCEDURE

cactus step by step

CUT OUT THE VARIOUS PIECES

Start cutting out the various pieces of the pattern. Secure them to the fabric with pins and draw the outlines with tailor's chalk, then cut it all out [wc_highlight color="red"] (1) [/wc_highlight]. Make sure you have the following pieces:

  • two side panels of the cactus (for the second one, turn the pattern over so that they match)
  • three large yellow flowers
  • three small yellow flowers

EMBROIDERY THE EYES

Use black embroidery thread to embroider the eyes, using the back stitch [wc_highlight color="red"] (2) [/wc_highlight]. Alternatively, they can be drawn, or you can use beads.

BUILD THE CACTUS

Place the panel with the eyes right side up [wc_highlight color="red"] (3) [/wc_highlight], then place the other panel on top, matching them up and securing them with pins [wc_highlight color="red"] (4) [/wc_highlight].

Sew them together using the machine, leaving a 5 mm margin . Start from the bottom on the right side and sew all around, leaving the base open [wc_highlight color="red"] (5) [/wc_highlight].

Carefully push the fabric through the opening and turn the cactus inside out. Fill it with stuffing, making sure to fill the corners too: use a pencil or chopstick to help you push the stuffing in [wc_highlight color="red"] (6) [/wc_highlight]. Close the opening with white thread [wc_highlight color="red"] (7) [/wc_highlight].

ATTACK THE FLOWERS

Sew together a large and a small flower, forming a small asterisk in the center [wc_highlight color="red"] (8) [/wc_highlight]. Then attach the flower to the cactus, in the place you prefer. Repeat the process for the other two flowers.

FIX THE POT

Place the cactus in the pot and use the stuffing to hold it in the center and make sure it stays upright [wc_highlight color="red"] (9) [/wc_highlight]. Stuff well up to three-quarters of the way into the pot, then use brown wool for the soil [wc_highlight color="red"] (10) [/wc_highlight].

Done!!! Isn't it too cute? The perfect helper! :D

cactus pincushion 3

MATERIALS

  • green and yellow felt
  • a small pot or basket
  • template (see the notes below)
  • sewing machine
  • brown yarn
  • white and red thread
  • black stranded cotton
  • sewing needle
  • embroidery needle
  • toy stuffing
  • scissors
  • tailor chalk

TEMPLATE NOTES

  • Download the pdf template here.
  • Cactus template includes seam allowances (5mm)

TUTORIAL

cactus step by step

CUTTING OUT

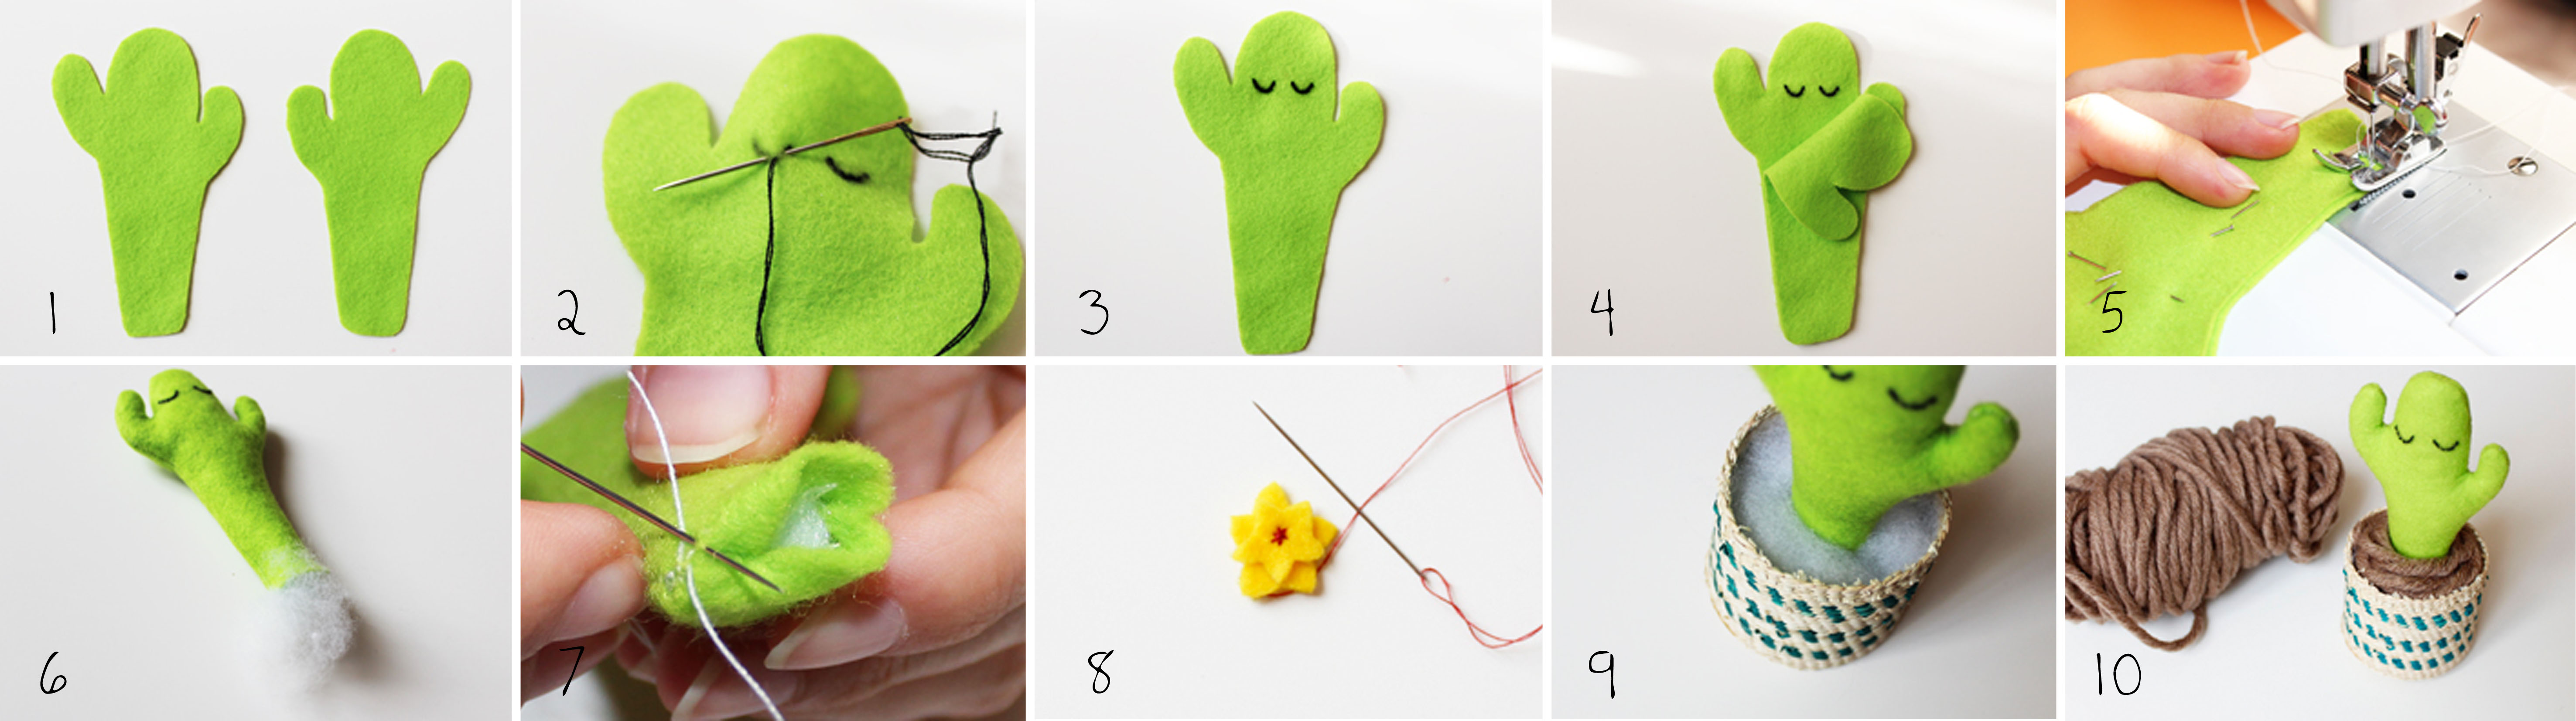
Start cutting out the template pieces. Pin them to your felt, draw around the pieces using a tailor chalk, then cut them out [wc_highlight color="red"] (1) [/wc_highlight]. Make sure you have the following pieces:

  • 2 cactus sides in green (flip one over so it faces the opposite direction)
  • 3 big flowers in yellow
  • 3 little yellow flowers

EMBROIDERING THE EYES

Use the black stranded cotton to embroider the eyes, using a back stitch [wc_highlight color="red"] (2) [/wc_highlight]. Alternatively you can draw them or use some beads.

CONSTRUCT THE CACTUS

Place the body piece with the eyes right side up [wc_highlight color="red"] (3) [/wc_highlight], then place the other body shape on top, right side down. [wc_highlight color="red"] (4) [/wc_highlight]. Pin all the pieces together.

Sew around the body, 5 mm away from the edge . Start at the side of the base and work your way around, leaving a gap at the base [wc_highlight color="red"] (5) [/wc_highlight].

Carefully push the fabric through the gap to turn it out. Fill the body with toy stuffing. Use a tool like a chopstick to help you get the stuffing all the way into the corners [wc_highlight color="red"] (6) [/wc_highlight]. At the gap, fold the edges of the fabric inside and sew together [wc_highlight color="red"] (7) [/wc_highlight].

MAKE AND ATTACH THE FLOWERS

Sew together a little and a big flower, stitching a little star in the center [wc_highlight color="red"] (8) [/wc_highlight]. First decide where to attach the flower, then sew it onto the cactus body. Repeat the process for the other two flowers.

FILL THE POT

Place the cactus in the pot and use toy stuffing to stop it in the middle and make sure that it remains well straight [wc_highlight color="red"] (9) [/wc_highlight]. Stuff the pot for three quarters, then use the brown yarn to make the soil [wc_highlight color="red"] (10) [/wc_highlight].

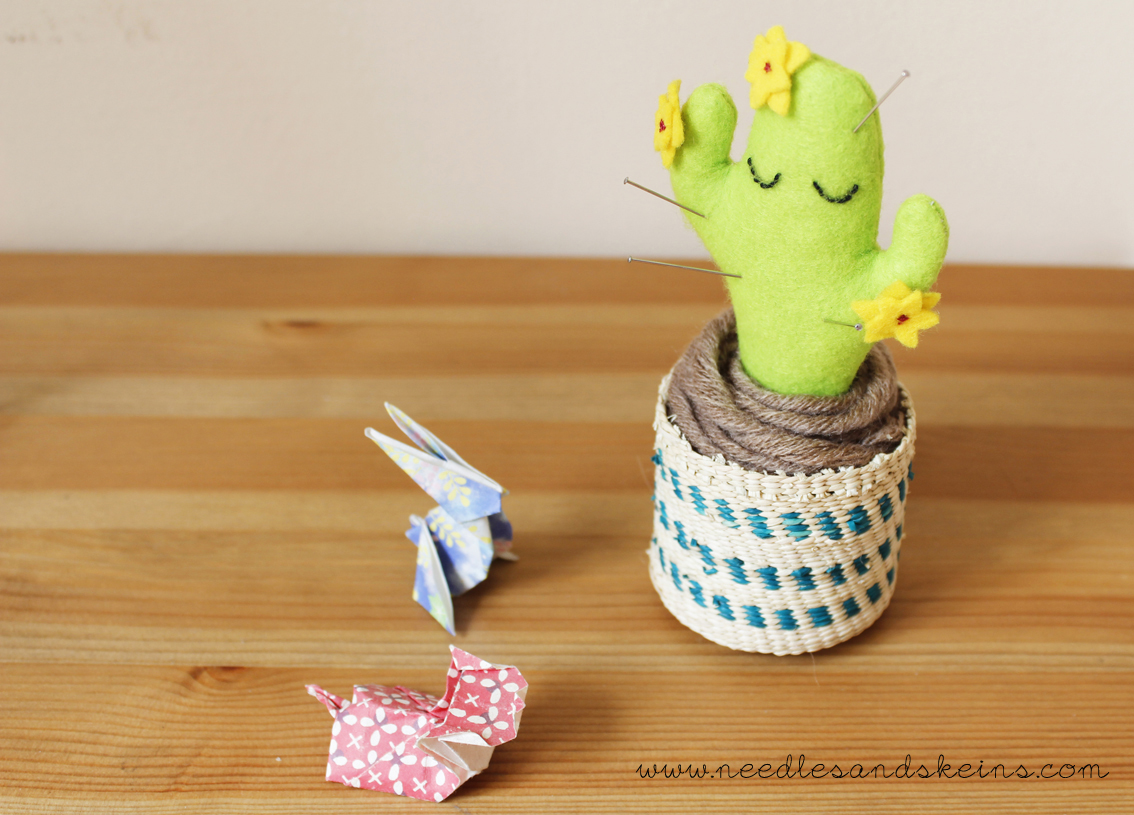
That's it!!! It's so cute, isn't it? The perfect mate! :D

cactus pincushion 2

Back to blog

Leave a comment

Please note, comments need to be approved before they are published.