DIY SUMMER HAT // SEWING TUTORIAL + DOWNLOAD
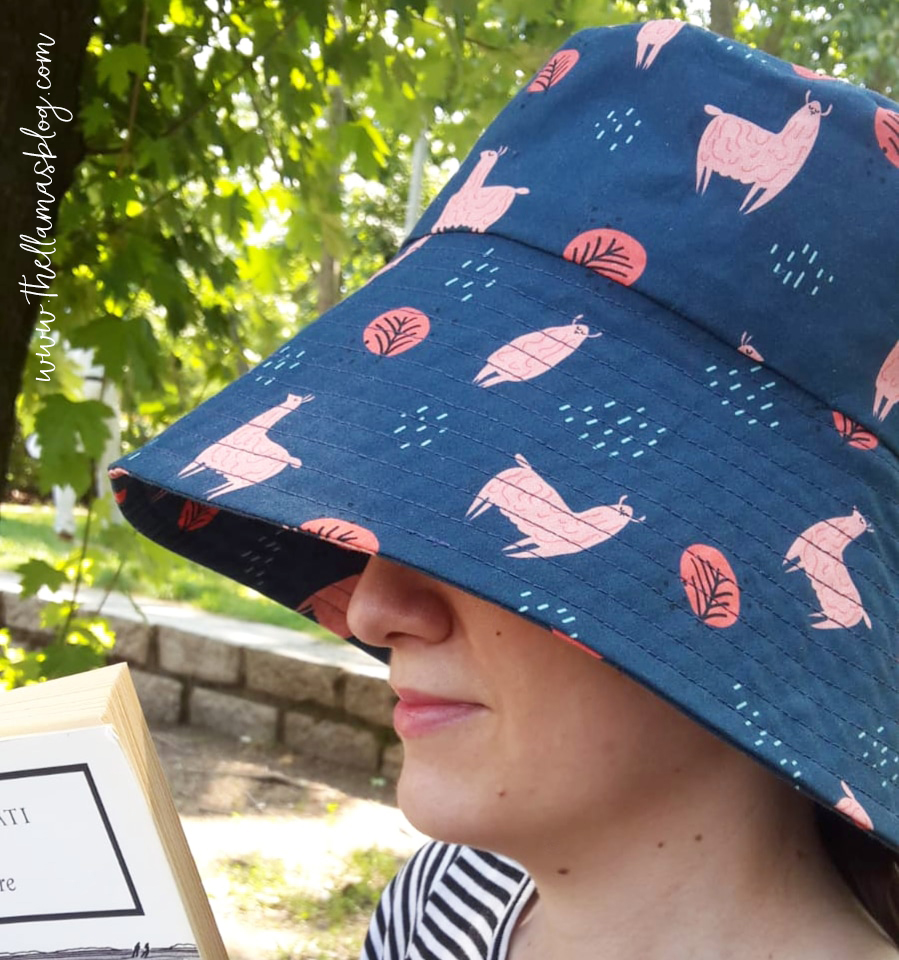
Do you remember the Summer Gift Party ? The coolest swap party in the kingdom organized by the very creative Antonella from Blog a Cavolo and Lisa from Piccolecose Handmade to celebrate the first day of summer! For the last edition we made a picnic blanket with watermelons, while this time we tried our hand at a slightly more complex sewing project and as always we would like to share it with you: let's try to make a summer hat together ? It's comfortable and light, to always keep in your bag when the sun gets too strong or the wind too insistent :) We used our cotton poplin fabric "Forest Llamas" in the blue version , it's perfect for this project!
Do you remember the Summer Gift Party ? The coolest swap party in town, organized to celebrate the first day of summer by the super creative couple Antonella from Blog a Cavolo and Lisa from Piccolecose Handmade ! For the last edition we made a watermelon printed picnic blanket this time we tried or more difficult sewing project, and as always we want to share it with you all: what about trying to sew a summer hat together? I's light and comfortable, a must have to keep in the bag for that times when the sun or the wind are too strong :) We used our poplin cotton fabric "Forest Llamas" in the blue version, it's perfect for this project!
FOR THE TUTORIAL IN ENGLISH CLICK ON THE “ENGLISH” LABEL.
[wc_tabgroup class="" layout="box"]
[wc_tab title="ENGLISH"]
MATERIALS
-
- 70cm (43.5" wide) light or medium weight cotton fabric (like our "Forest Llamas" cotton poplin)
- 20 cm of iron-on fabric
- pattern (see below)
- sewing machine
- sewing needle
- colored sewing thread (matching the fabric chosen)
- pins
- fabric scissors
- pencil or tailor's chalk
DOWNLOAD PATTERN
HOW TO MAKE A SUMMER HAT
CUT OUT THE PIECES AND ATTACH THE CANVAS
Fold the fabric in half, right sides together and start cutting out the various parts of the hat following the instructions on the pattern. Cut the brim into the adhesive fabric as well.
Make sure you have the following pieces:
- for the central band: 1 piece of fabric + 1 of lining
- for the brim: 1 piece of fabric + 1 of lining + 1 of canvas
- for the upper part 1 piece of fabric + 1 of lining
SEW THE BRIM
STITCH THE BIM
SEW THE BAND
ATTACH THE TOP PART
MAKE THE LINING
ATTACH THE LINING
[/wc_tab]
[wc_tab title=" ENGLISH "]
MATERIALS
- 70 cm of light/medium weight cotton fabric (110 cm high) (like our "Forest Llamas" cotton poplin)
- 20 cm of light/medium fuse interfacing
- sewing template (see below)
- sewing machine
- colored sewing thread (matching the chosen fabric)
- pins
- sewing needle
- fabric scissors
- taylor chalk
DOWNLOAD TEMPLATE
THE SEWING PATTERN INCLUDES THE SEAM ALLOWANCE OF 1.5 CM.
HOW TO MAKE A SUMMER HAT
CUT OUT THE PATTERN PIECES FROM FABRIC AND ATTACH THE INTERFACING
Fold the fabric in half, right sides together and begin to cut out the various parts of the hat, following the instructions on the pattern. Cut out the brim pattern piece from the interfacing.
Make sure you have the following pieces:
- central band: 1 piece of fabric + 1 of lining
- brim: 1 piece of fabric + 1 of lining + 1 of interfacing
- top: 1 piece of fabric + 1 of lining
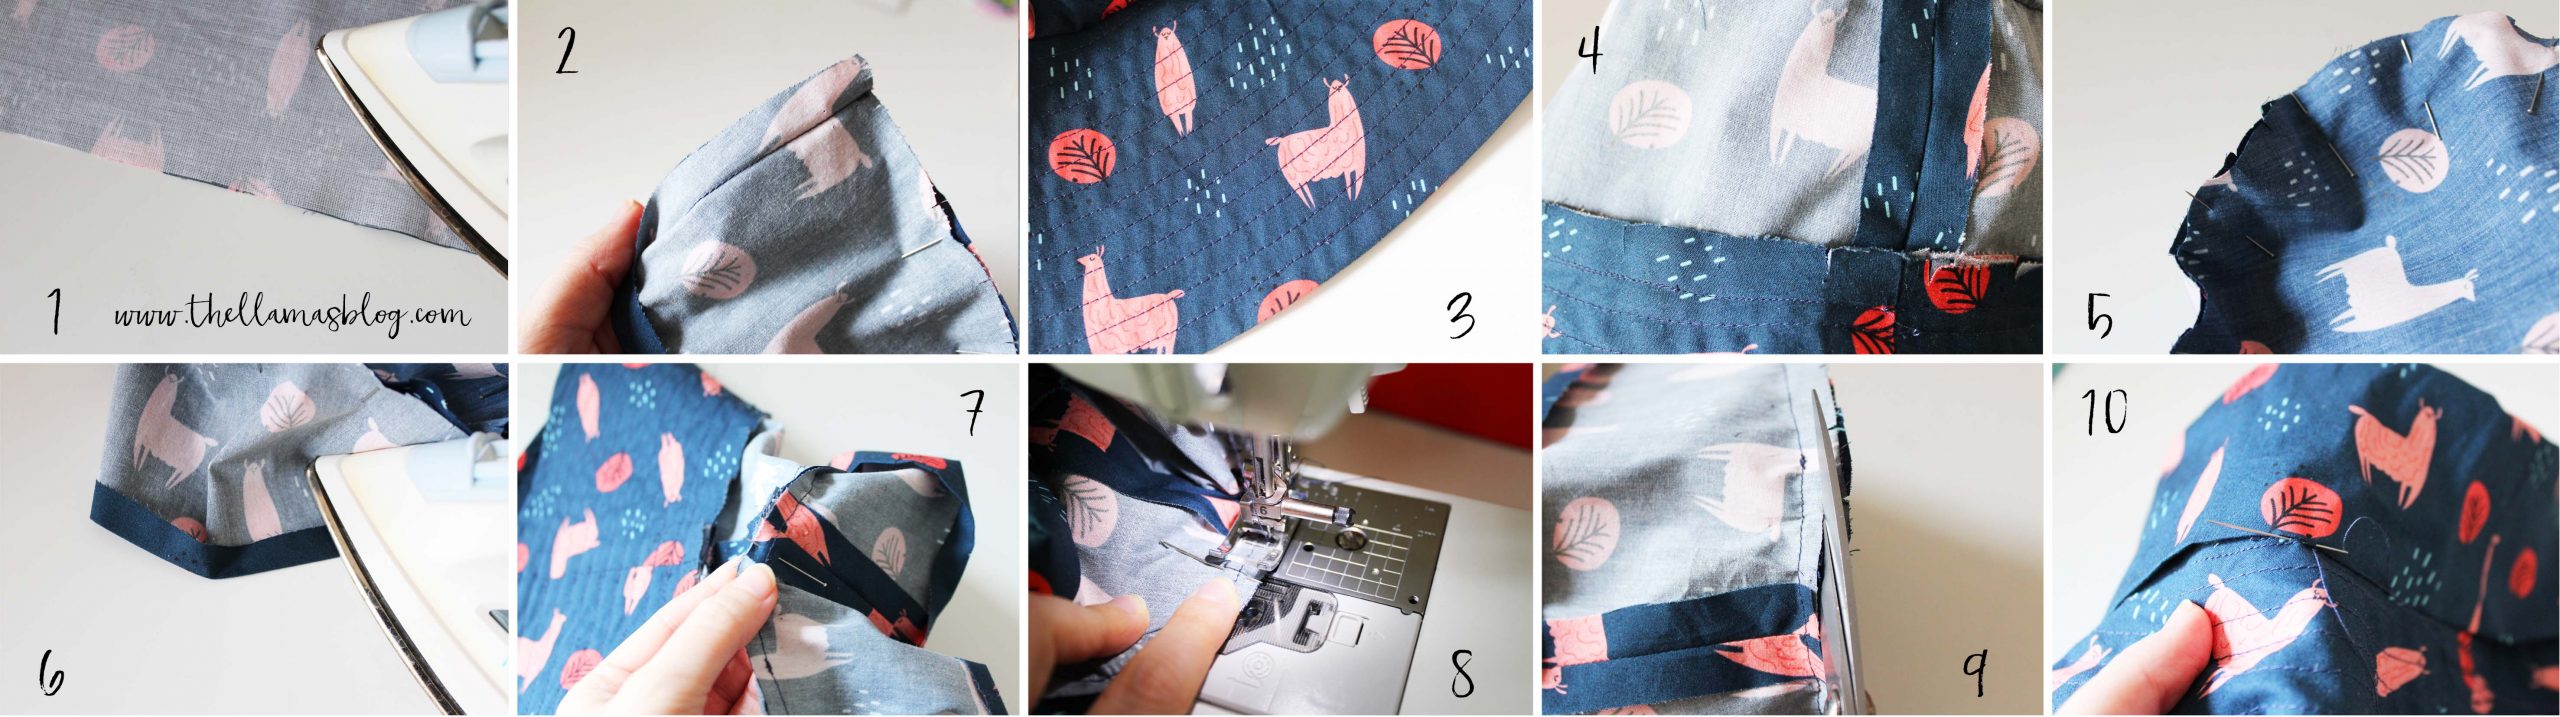
Overlap the piece of interfacing on the back of brim fabric piece, and fuse it to the fabric. That piece will be part of the lining [wc_highlight color="red"](1)[/wc_highlight] .
SEW THE BRIM
Match the back edges (shorter ones) of the brim pieces and secure them with pins, right sides together. Sew them with a seam allowance of 1.5 cm [wc_highlight color="red"](2)[/wc_highlight] . This will be the seam allowance for all other pieces. Press the seam open and repeat the same operation with the lining. Then sew the brim to the lining, right sides together, along the outer border (the one that will not be sewn to the hat band). Turn the fabric upside down and iron on.
STITCH THE BRIM
CREATE THE LINING
Repeat the steps for the making of the central band: match the back edges of the lining right sides together, sew them and press the seam open. Attach the top lining piece to the central band lining, as you did previously for the outer fabric (photo 5). With the wrong side up, fold a 12mm edge along the bottom edge of the band and iron it [wc_highlight color="red"](6)[/wc_highlight] .
ATTACH THE LINING
Match the upper round sides, wrong sides together, and pin the edges around the seam [wc_highlight color="red"](7)[/wc_highlight] . Sew the seam allowances of the upper parts together in the round, by machine or by hand, making an external seam on the margins a few millimeters from the one that joins the top part to the central band [wc_highlight color="red"](8)[/wc_highlight] . In this way the lining and fabric will be well joined. Cut the exceeding fabric, leaving a few millimeters [wc_highlight color="red"](9)[/wc_highlight] , then turn the lining over the fabric. Sew the folded edge of the lining around the inside edge of the hat by hand, with a hidden stitch. Turn the fabric upside down.