DIY HALLOWEEN BUDDY NECKLACE ♥

Bentornati al consueto tutorial annuale di Halloween! Se ci seguite da un po' avrete notato che è per noi un appuntamento immancabile, visto che Halloween è una delle feste che più scatena la nostra fantasia ? e stavolta (piccolo spoiler!!) l'appuntamento raddoppia! Ma questo lo scoprirete tra qualche giorno xD Quest'anno vi proponiamo un tutorial dalle dimensioni lillipuziane, una collana con un tenero pipistrello in bottiglia! Se avete deciso di andare sul classico e di vestirvi da streghe (o da stregoni!), avrete bisogno di una mascotte :D
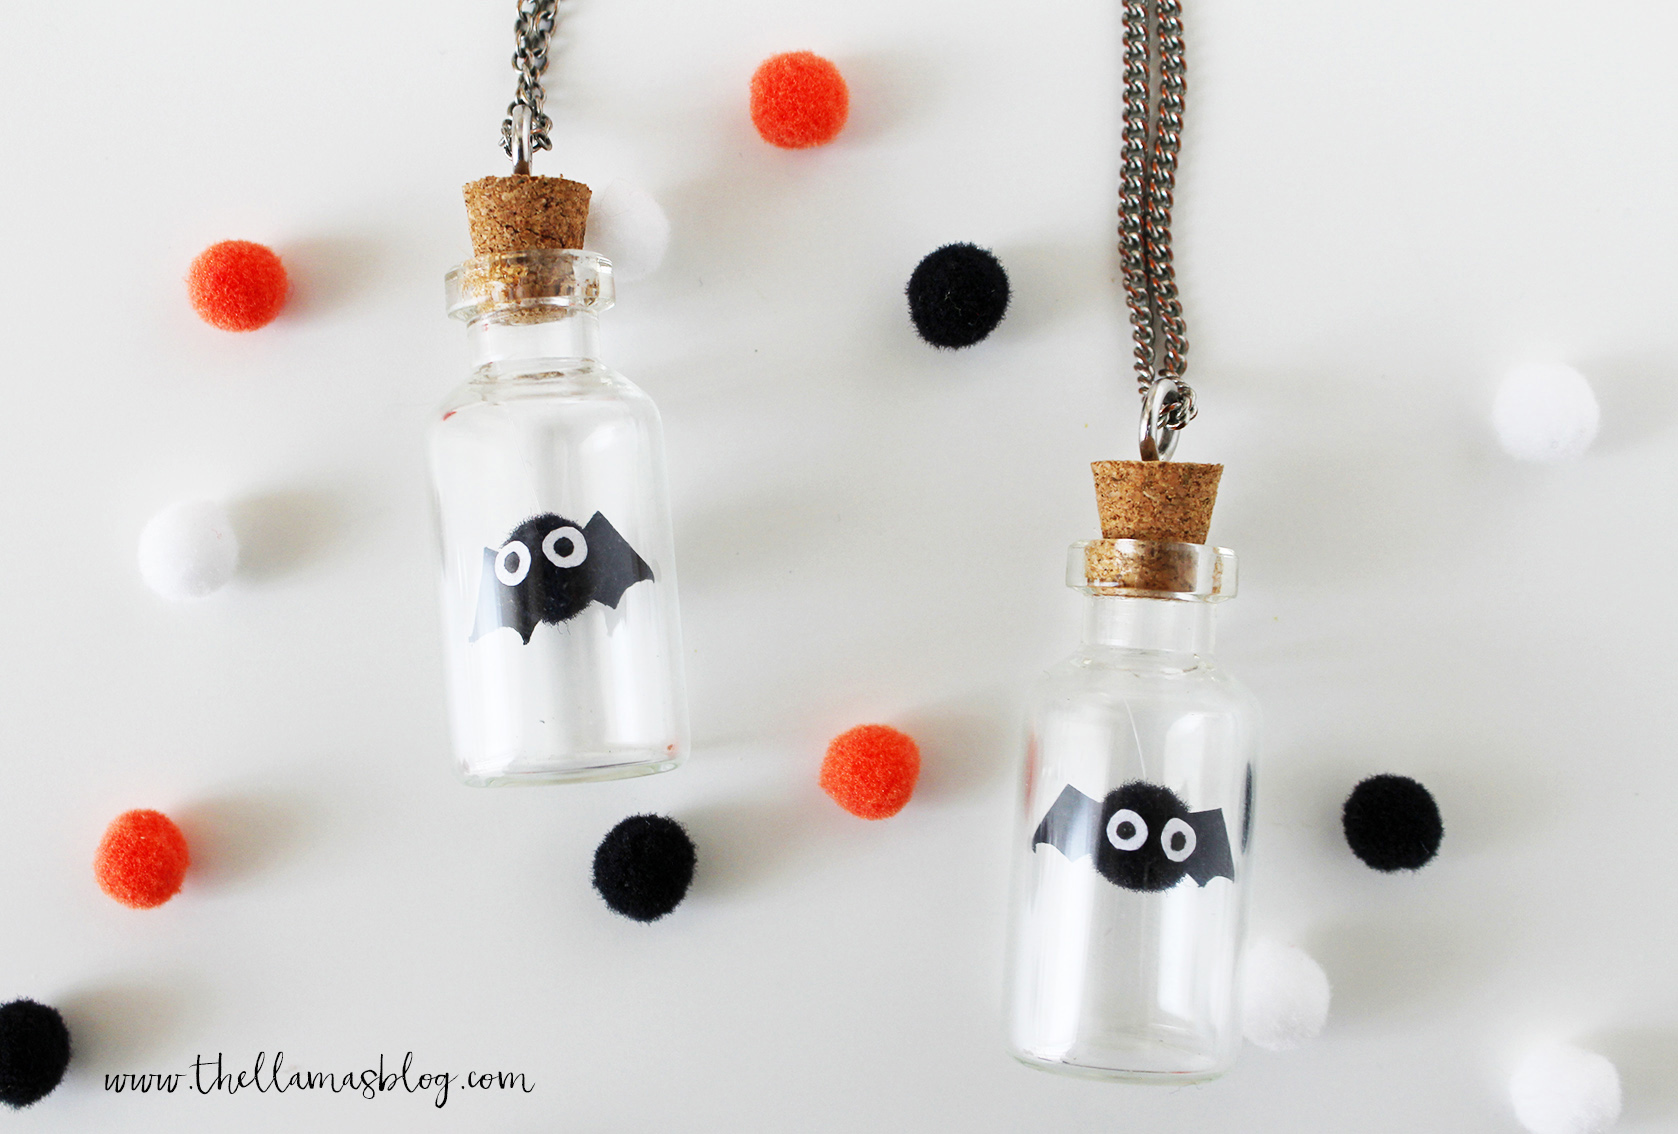
Welcome back to the usual annual Halloween tutorial! If you have been following us for a while you will have noticed that it is an unmissable event for us, because Halloween is one of the holidays that most unleashes our imagination ? and this time (small spoiler!) the appointment doubles! But you'll find out in a few days xD This year we offer you a tutorial with Lilliputian dimensions, a necklace with a tender bat in a bottle! If you have decided to go on classic and dress up as witches (or wizard!), you will need a mascot :D

Non è troppo carino? Questo piccolo pipistrello può donare un tocco di originalità in più a un costume troppo classico :) ma se, come noi, siete amanti del dark con un tocco di kawaii, potete anche indossarlo durante tutto l'anno!
Isn't it too cute? This little buddy can give a touch of originality to a too classic costume :) but if, like us, you are lovers of the dark with a touch of kawaii, you can also wear it throughout the year!

Più il ciondolo bottiglia è piccolo (noi abbiamo usato quelli di Flying Tiger), più pazienza e attenzione ci vogliono nel realizzarlo, ma il risultato è così carino da far dimenticare l'impegno :D Se avete difficoltà, data la dimensione mini dei pezzi, potete aiutarvi con delle pinzette o potete pensare di realizzare un pipistrello mascotte formato maxi in una bottiglia normale, da usare come decorazione! PER IL TUTORIAL IN ITALIANO CLICCATE SULL'ETICHETTA "ITALIANO" SOTTO LA FOTO.
The more the bottle pendant is small (we used the ones by Flying Tiger), the more patience and attention it takes to make it, but the result is so nice that it makes forget the effort :D If it's too hard to make, due to the mini size of the pieces, you can help yourself with tweezers or you can think of making a maxi bat in a normal bottle, to be used as decoration! Now let's move to the tutorial!
[wc_tabgroup layout="box"]
[wc_tab title="ENGLISH"]
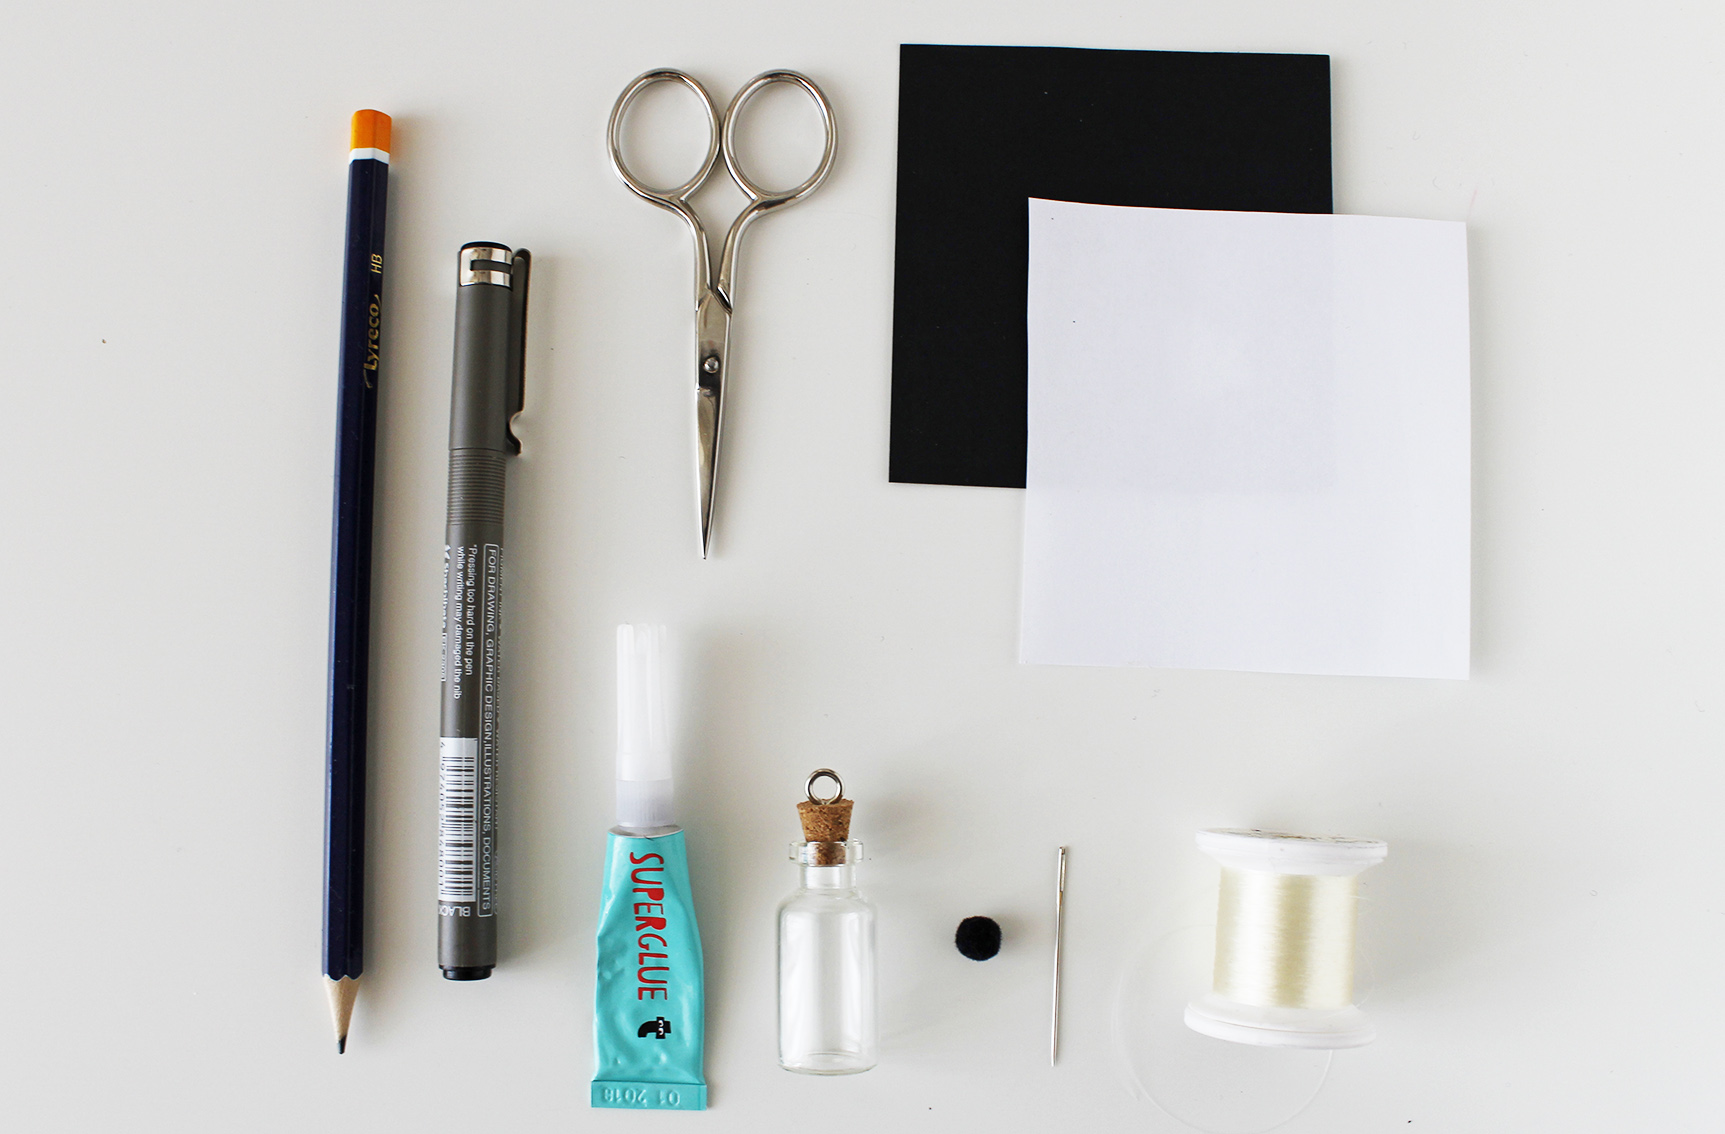
MATERIALS
- white paper sheet
- black cardboard
- bottle pendant
- a black little pom pom
- small scissors
- transparent thread
- needle
- glue
- black pen or marking pen
- pencil
TUTORIAL
MAKE THE WINGS
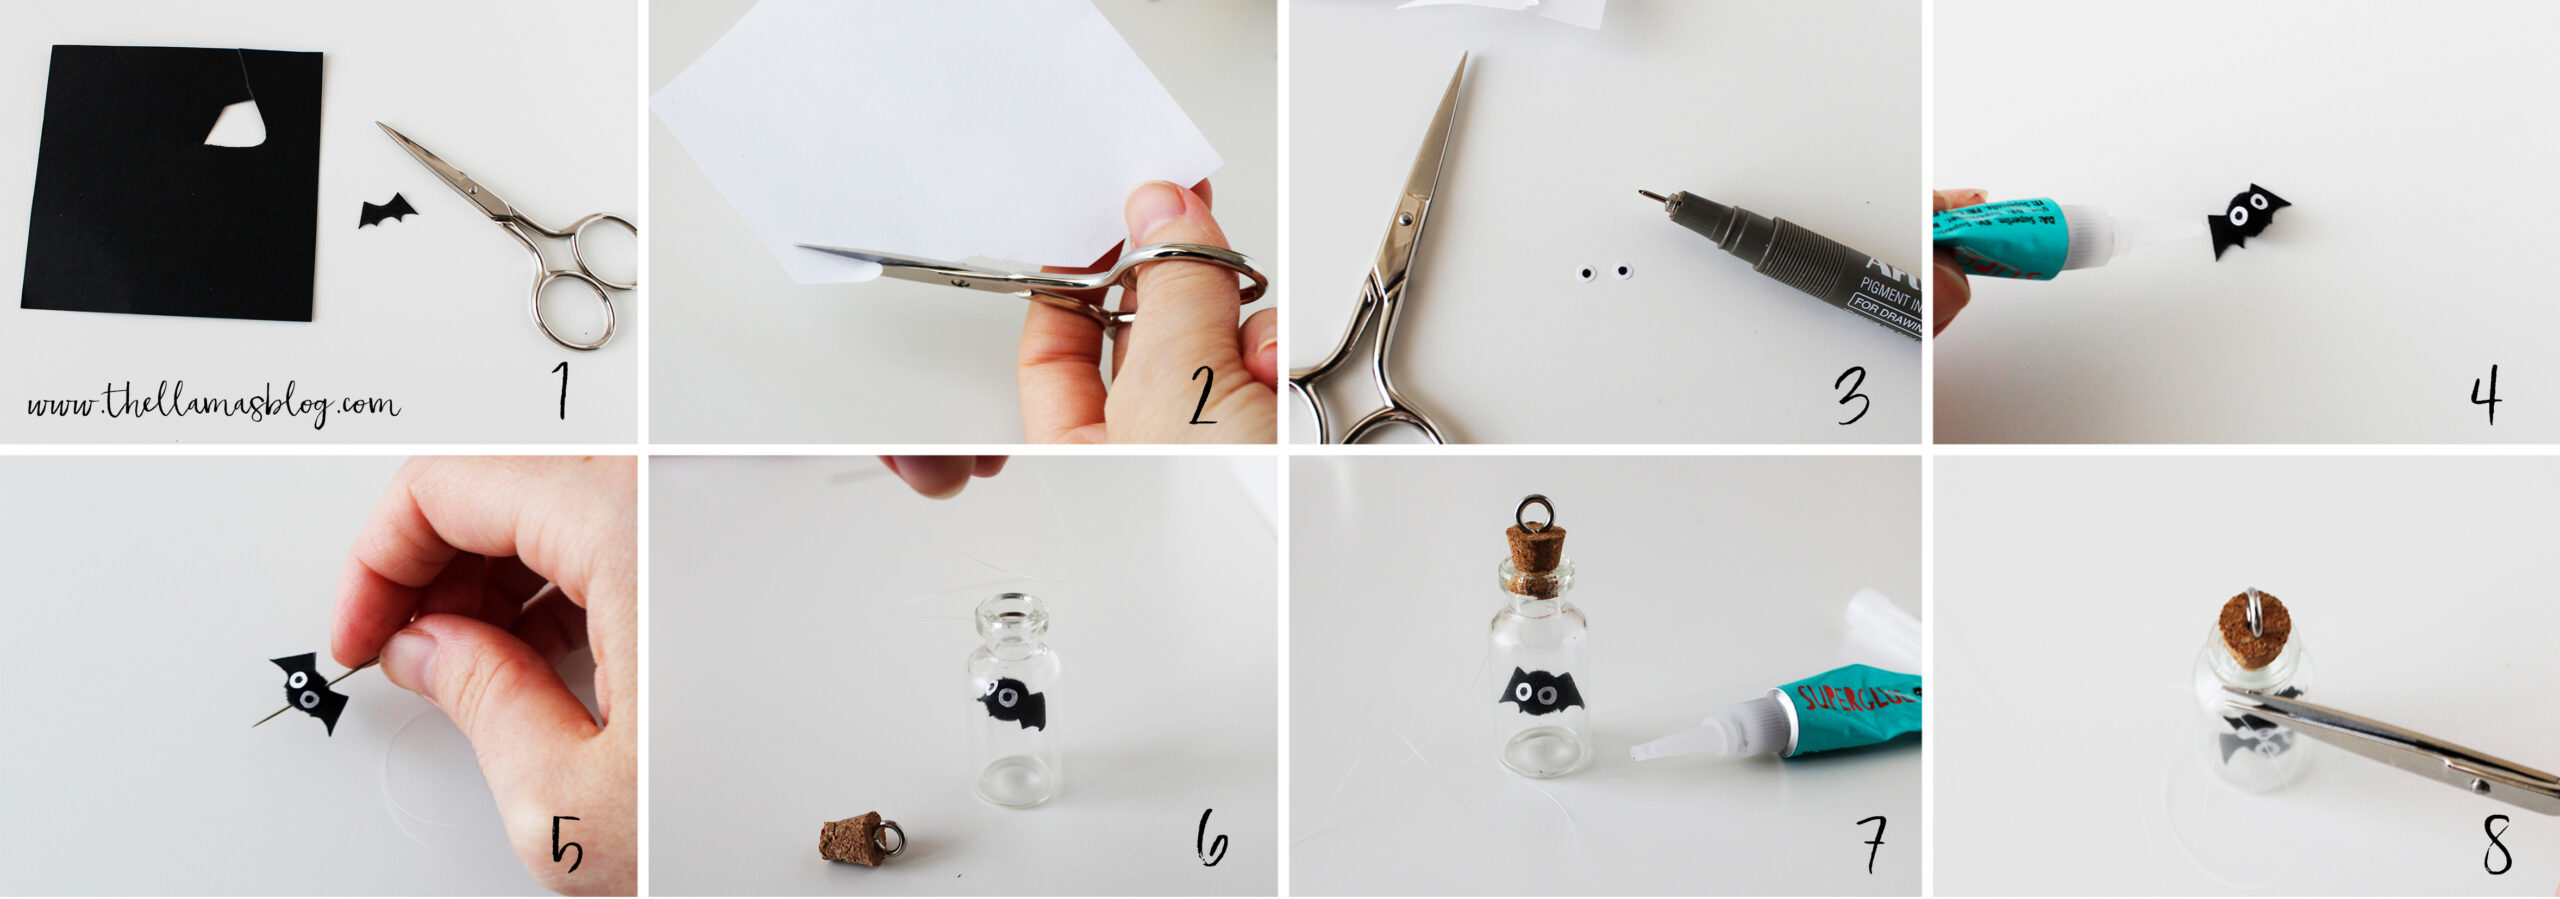
Draw the wings of the bat with a normal pencil on the black sheet, make sure that the width is slightly less than the diameter of the bottle and that the height is not too much larger than the opening. Cut it with scissors and erase the pencil marks that are still visible[wc_highlight color="red"](1)[/wc_highlight].
CUT THE EYES
With a a bit of patience, cut with the small scissors two tiny circles from the sheet of white paper, the sizes as similar as possible to each other. Help yourself by rotating the sheet while you cut it out [wc_highlight color="red"](2)[/wc_highlight].
DRAW THE PUPILS
Draw two small black circles with the marking pen or the black pen in the center of the paper circles to make the pupils [wc_highlight color="red"](3)[/wc_highlight].
PASTE THE PIECES
With a drop of glue, attach the mini pom pom to the wings, then attach the eyes to the front [wc_highlight color="red"](4)[/wc_highlight].
INSERT THE THREAD
With a needle, insert a transparent thread vertically through the center of the bat. Fix it on the bottom with 3 knots and cut the thread that protrudes in excess down, over the knot [wc_highlight color="red"](5)[/wc_highlight]. Do not cut the upper thread, you will need to fix the bat to the bottle.
INSERT THE BAT IN THE BOTTLE
Carefully insert the bat into the bottle [wc_highlight color="red"](6)[/wc_highlight]. Once you have inserted it you can fix any creases on the wings with a thin tool. If once inserted, you notice that the wings are too wide in relation to the diameter of the bottle, pull the bat out gently with tweezers and shorten the edges. Then insert it again.
FIX THE BOTTLE CAP
Once placed the bat in the position that you like most, close the bottle with the cap adding a few drops of glue to fix it. Make sure that the glue ends even where the thread passes, in order to fix the bat too[wc_highlight color="red"](7)[/wc_highlight].
CUT THE THREAD
Cut the excess transparent thread that comes out of the cap [wc_highlight color="red"](8)[/wc_highlight]. Add a chain and your pendant is ready to be worn!
[/wc_tab]
[wc_tab title="ITALIANO"]
MATERIALI
- foglio bianco
- cartoncino nero
- ciondolo bottiglia
- mini pom pom nero
- forbicine
- filo trasparente
- ago
- colla liquida
- pennino o penna nera
- matita
PROCEDIMENTO
REALIZZA LE ALI
Disegna le ali del pipistrello con una normale matita sul foglio nero, fai attenzione che la larghezza sia leggermente inferiore al diametro della bottiglietta e che l'altezza non sia di troppo maggiore rispetto all'apertura. Ritagliale con le forbicine e cancella i segni della matita rimasti visibili [wc_highlight color="red"](1)[/wc_highlight] .
TAGLIA GLI OCCHI
Con un po' di pazienza taglia con le forbicine due piccoli cerchi dal foglio di carta bianca, di grandezza il più simile possibile tra loro. Aiutati facendo ruotare il foglio mentre ritagli [wc_highlight color="red"](2)[/wc_highlight].
DISEGNA LE PUPILLE
Disegna due cerchietti neri con il pennino o la penna nera al centro dei cerchi di carta per fare le pupille [wc_highlight color="red"](3)[/wc_highlight].
INCOLLA I PEZZI
Con un goccio di colla attacca il mini pom pom alle ali, dopodiché attacca gli occhi nella parte frontale [wc_highlight color="red"](4)[/wc_highlight].
INSERISCI IL FILO
Con un ago fai passare verticalmente un filo trasparente al centro del pipistrello. Fissalo sul fondo con 3 nodi e taglia il filo che sporge in eccesso in basso, oltre il nodo [wc_highlight color="red"](5)[/wc_highlight]. Non tagliare il filo superiore, ti servirà per fissare il pipistrello.
INSERISCI IL PIPISTRELLO
Infila con delicatezza il pipistrello nella bottiglietta. Una volta inserito sistema eventuali spiegazzature delle ali aiutandoti con una strumento sottile [wc_highlight color="red"](6)[/wc_highlight]. Se una volta inserito noti che le ali sono troppo larghe rispetto al diametro della bottiglietta, tira fuori il pipistrello delicatamente con una pinzetta e accorcia i bordi. Poi inseriscilo nuovamente.
FISSA IL TAPPO
Una volta posizionato il pipistrello nella posizione che più ti piace chiudi la bottiglietta con il tappo aggiungendo qualche goccia di colla per fissarlo. Fai attenzione che la colla finisca anche dove passa il filo, in modo da bloccare il pipistrello [wc_highlight color="red"](7)[/wc_highlight].
TAGLIA IL FILO
Taglia il filo trasparente in eccesso che fuoriesce dal tappo [wc_highlight color="red"](8)[/wc_highlight]. Aggiungi una catenina e il tuo ciondolo è pronto per essere indossato!
[/wc_tab]
[/wc_tabgroup]
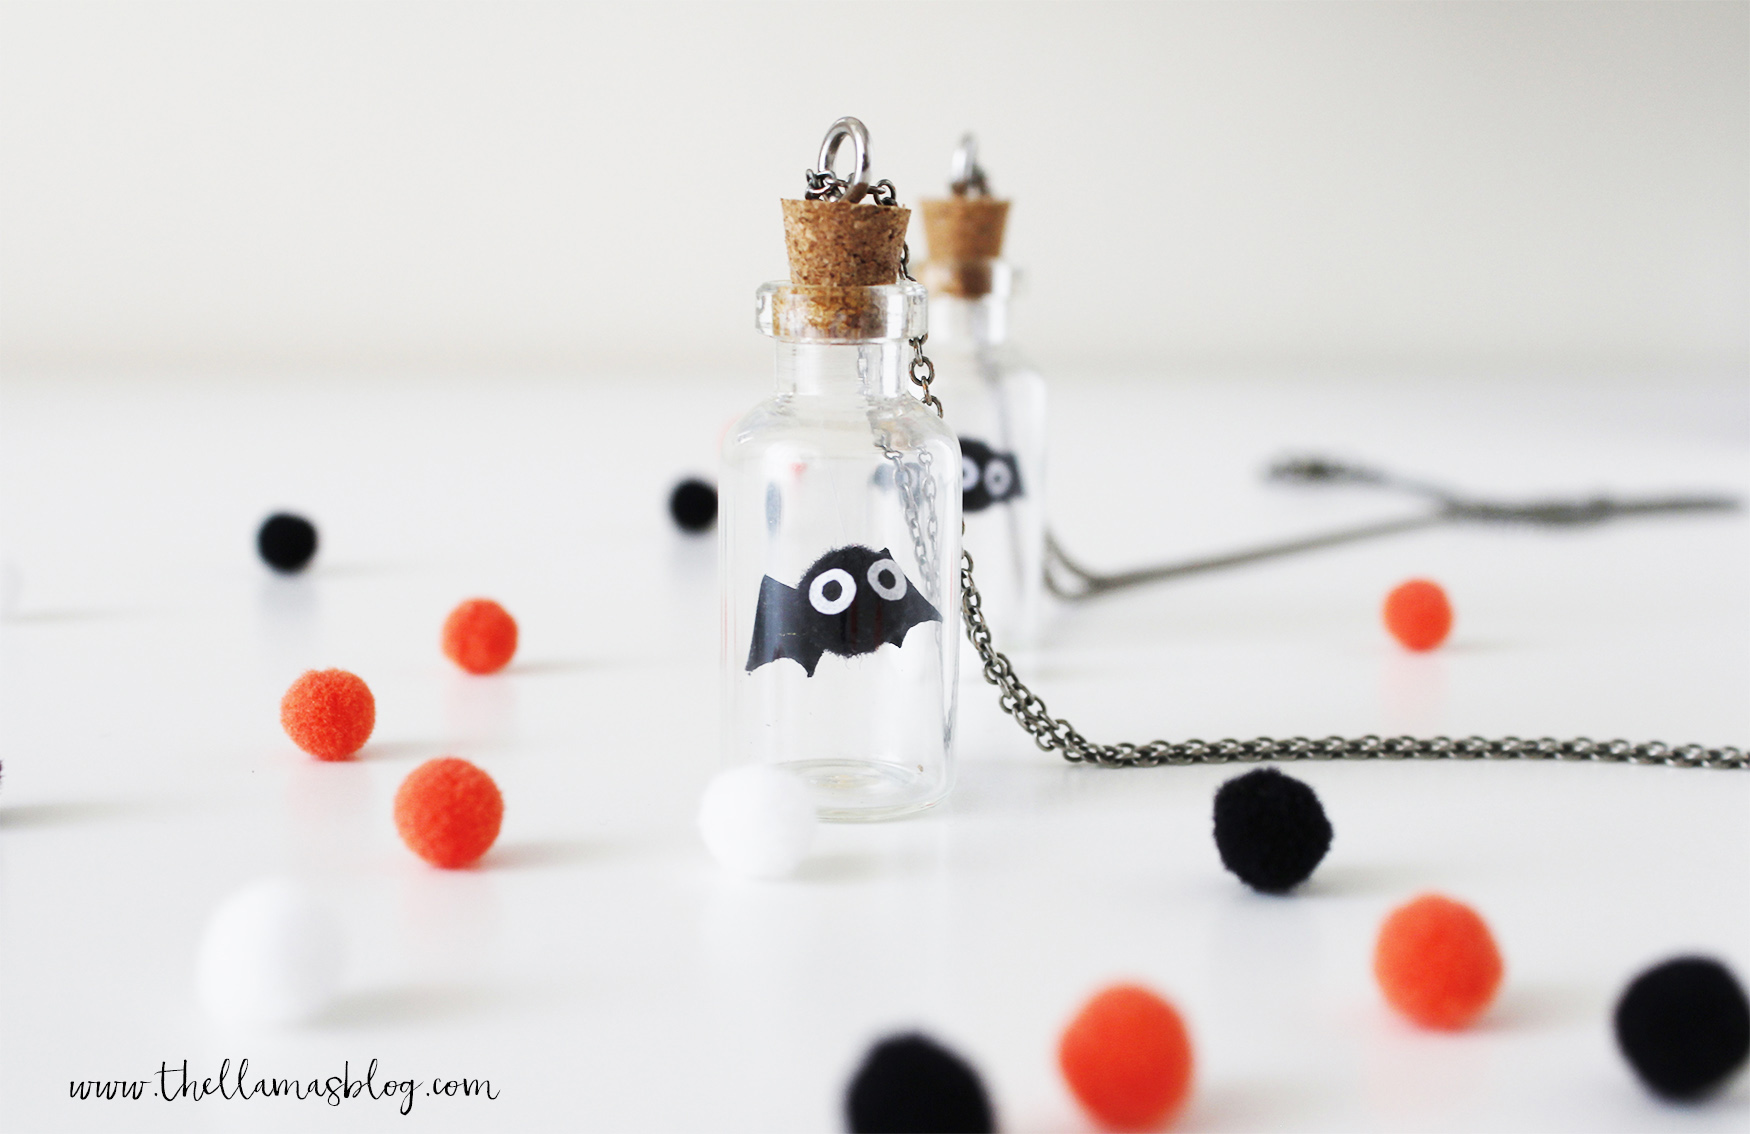
Adesso che la vostra collana è pronta, indossatela e diffondete un po' di kawaii in questa tetra festa, in pieno stile The Llamas xD e non dimenticate di condividere le vostre creazioni usando l'hashtag #makethingsnotdramas e con la mention @thellamas.lab! ? ?
And now that your necklace is ready, wear it and go to spread a bit of kawaii in this dark festivity, in pure The Llamas style xD and do not forget to share your creations using the hashtag #makethingsnotdramas and mention @thellamas.lab! ? ?