

Dopo tantissimo tempo torniamo sul blog con un bel tutorial di cucito, che siamo sicure vi sarà utilissimo! Nell’armadio abbiamo tutti quel vestito o quel maglione carino, magari dalla linea senza tempo, a cui però manca qualcosa. Un bel colletto tondo può essere la soluzione! Con questo tutorial vi insegniamo come si realizza un colletto staccabile, in poche mosse. Sarete in grado di dare a qualsiasi abito o maglietta del vostro guardaroba (con lo scollo tondo) un tocco anni ’60! E’ più facile di quello che sembra 🙂
After a long time we are back the blog with a nice sewing tutorial, which we are sure will be very useful! In the closet we all have that dress or that cute sweater, perhaps with a timeless line, but which is missing something. A nice round collar can be the solution! With this tutorial we teach you how to make a detachable collar, in a few moves. You will be able to give any dress or shirt in your wardrobe (with a round neckline) a 60s touch! It is easier than it seems 🙂
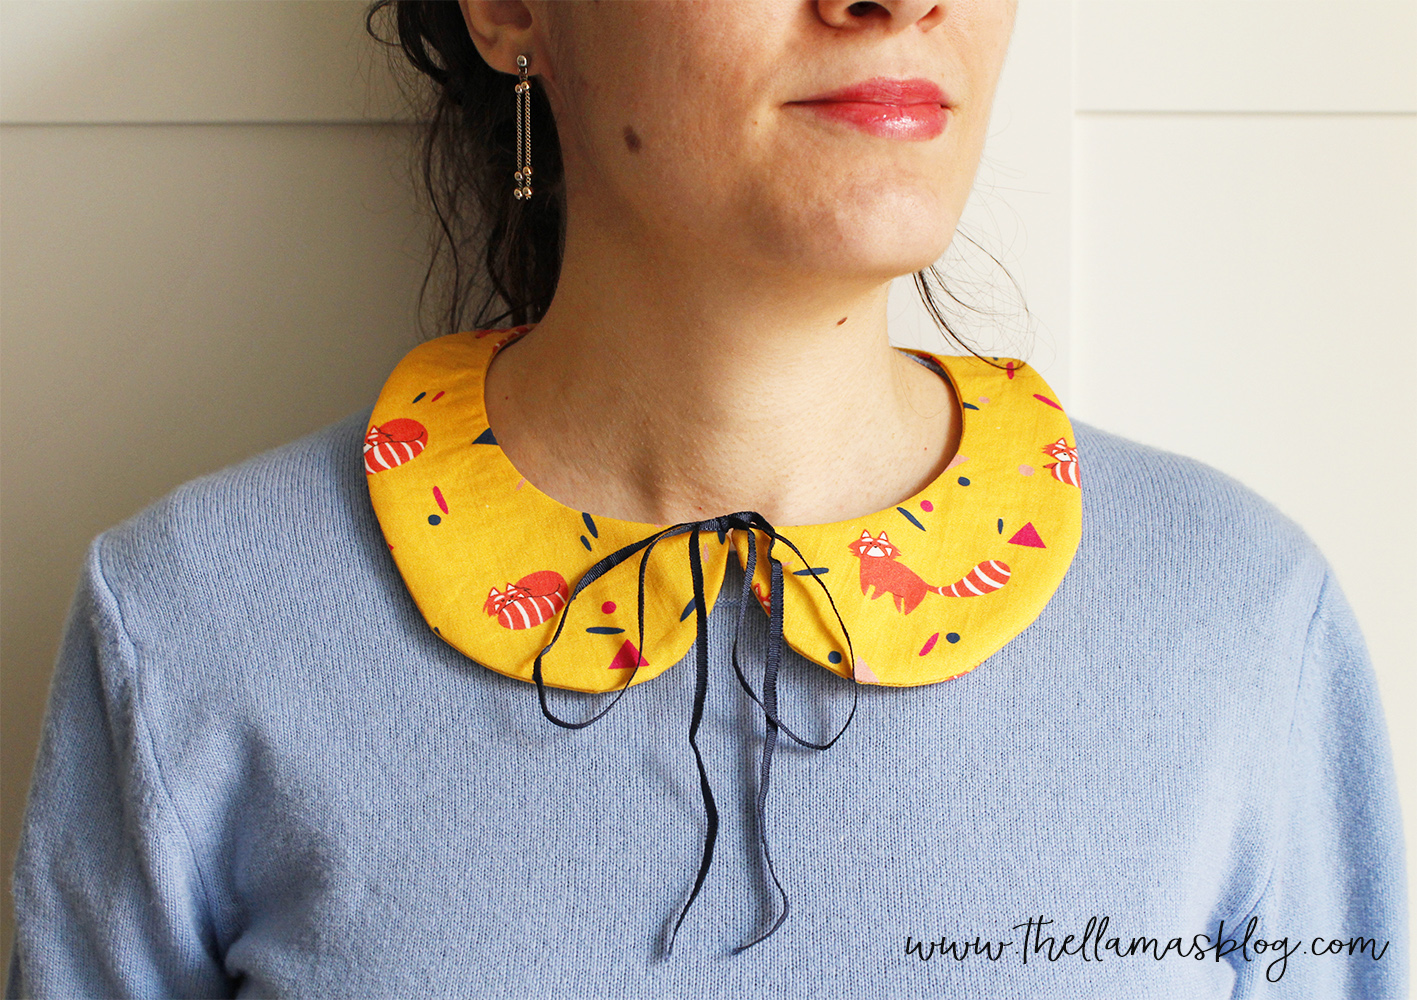
Noi abbiamo utilizzato uno dei nostri coloratissimi tessuti per dare un po’ di colore ad alcuni maglioni monocromatici, ma il colletto è perfetto anche in un tono neutro. E’ il progetto che stavate aspettando per utilizzare i fat quarter di quel tessuto bellissimo al quale non avete saputo resistere, ma che sono rimasti chiusi nel cassetto. E se riducete in scala le misure del cartamodello va benissimo anche per i bambini.
We used one of our colorful fabrics to give some monochromatic sweaters some color, but the collar is also perfect in a neutral tone. It is the perfect project for the fat quarters of that beautiful fabric that you couldn’t resist to, but you don’t know how to use. And if you scale the measurements of the pattern, it is fine for children too.
FOR THE TUTORIAL IN ENGLISH CLICK ON THE “ENGLISH” LABEL.
MATERIALI
- tessuto in cotone (quello con i panda rossi lo trovate QUI)
- teletta termoadesiva
- cartamodello (vedere qui in basso)
- macchina da cucire
- filo da cucito colorato (in tinta o a contrasto rispetto alla stoffa scelta)
- nastrino di raso (in tinta o a contrasto rispetto alla stoffa scelta)
- spilli
- ago da cucito
- forbici per tessuto
- matita o gessetto da sarto
DOWNLOAD CARTAMODELLO
- Scaricate qui il cartamodello in pdf del colletto.
COME SI REALIZZA IL COLLETTO STACCABILE
RITAGLIA I VARI PEZZI
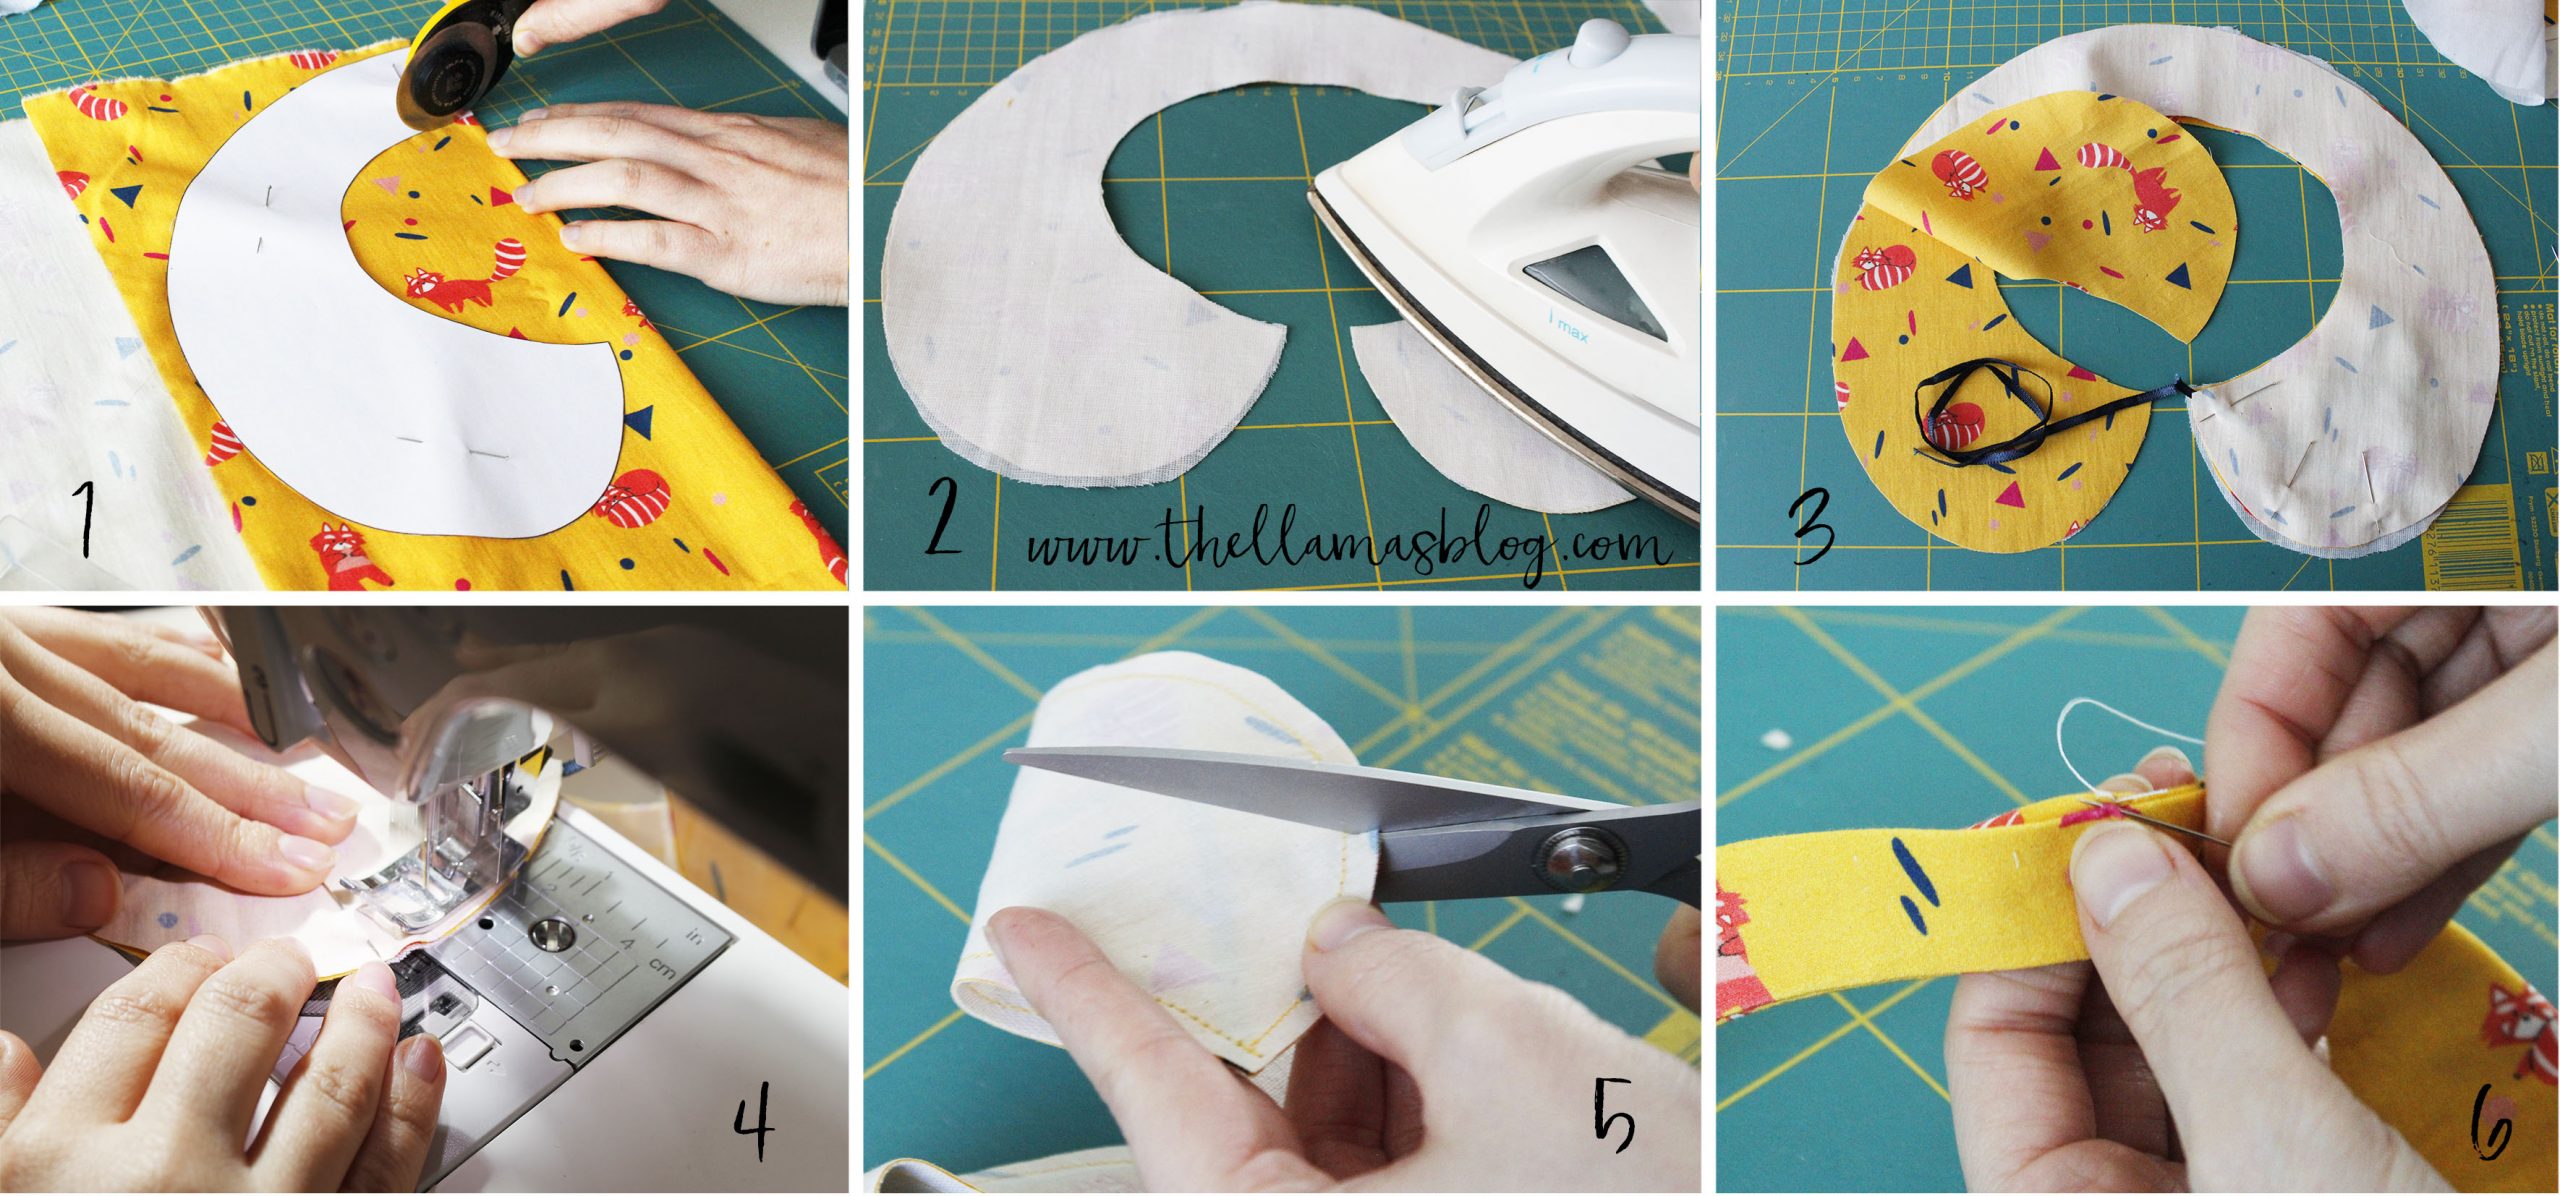
Piega la stoffa a metà e comincia a ritagliare le varie parti del cartamodello. Assicurale sulla stoffa con degli spilli e disegna i contorni con la matita da sarto, poi ritaglia il tutto (1). Segui lo stesso procedimento con la teletta.
Assicurati di avere i seguenti pezzi:
- due pezzi di tessuto
- uno di teletta
Tagliare due pezzi di nastro di raso di circa 33 cm l’uno.
ATTACCA LA TELETTA
Sovrapponi il pezzo di teletta adesiva sul retro di uno dei due pezzi di colletto, e stira per farla aderire al tessuto. Il lato con la teletta dovrà trovarsi in alto quando il colletto viene indossato.
METTI INSIEME I PEZZI
Sovrapponi i due pezzi di colletto facendo combaciare verso l’interno i lati giusti. All’interno delle due stoffe, negli angoli interni, inserire i nastri di raso e fissarli con uno spillo.
CUCI IL COLLETTO
Facendo attenzione a non cucire i nastri di raso, cuci il contorno del colletto con un margine di 0,5 cm. Solo le estremità dei nastri (quelle fissate ai due angoli del colletto) vanno cucite. Lascia un’apertura in alto, in modo da poter poi risvoltare il tessuto.
Fai dei piccoli tagli intorno alle curve, evitando di incidere la cucitura. Non tagliare in prossimità dell’apertura in alto.
RISVOLTA IL TESSUTO E RIFINISCI
Con pazienza risvolta il tessuto facendolo passare dall’apertura in alto. Stira leggermente il colletto proteggendolo con un panno, dopodiché chiudi l’apertura in alto fissandola con degli spilli.
MATERIALS
- cotton fabric (you can find this one with the red panda pattern HERE)
- light/medium fusible interfacing (optional)
- sewing template (see below)
- sewing machine
- colored sewing thread (matching or in contrast with the chosen fabric)
- satin ribbon (matching or in contrast with the chosen fabric)
- pins
- sewing needle
- fabric scissors
- taylor chalk
DOWNLOAD TEMPLATE
- Download here the collar pdf template.
HOW TO MAKE THE DETACHABLE COLLAR
CUT THE FABRIC PIECES
Fold the fabric in half and start cutting out the various parts of the template. Secure it on the fabric with pins and draw the outlines with a tailor’s chalk, then cut it out. Follow the same procedure with the interfacing.
Make sure you have the following pieces:
- two pieces of fabric
- one of interfacing
Cut two pieces of satin ribbon of about 33 cm each.
ATTACH THE INTERFACING
Overlap the piece of adhesive cloth on the back of one of the two pieces of collar, and iron to make it stick to the fabric. The side with the canvas must be at the top when the collar is worn.
PUT THE PIECES TOGETHER
Overlap the two pieces of collar by matching the right sides inwards. Inside the two fabrics, in the internal corners, insert the satin ribbons and secure them with a pin.
SEW THE COLLAR
Taking care not to sew the satin ribbons, sew the collar outline with a margin of 0,5 cm. Only the ends of the ribbons (those attached to the two corners of the collar) should be sewn. Leave an opening at the top, so you can then turn the fabric upside down.
Make small cuts around the curves, avoiding cutting the seam. Do not cut near the opening at the top.
TURN THE FABRIC UPSIDE DOWN AND FINISH
Patiently turn the fabric upside down by passing it through the opening at the top. Slightly iron the collar, protecting it with a cloth, then close the opening at the top, fixing it with pins.